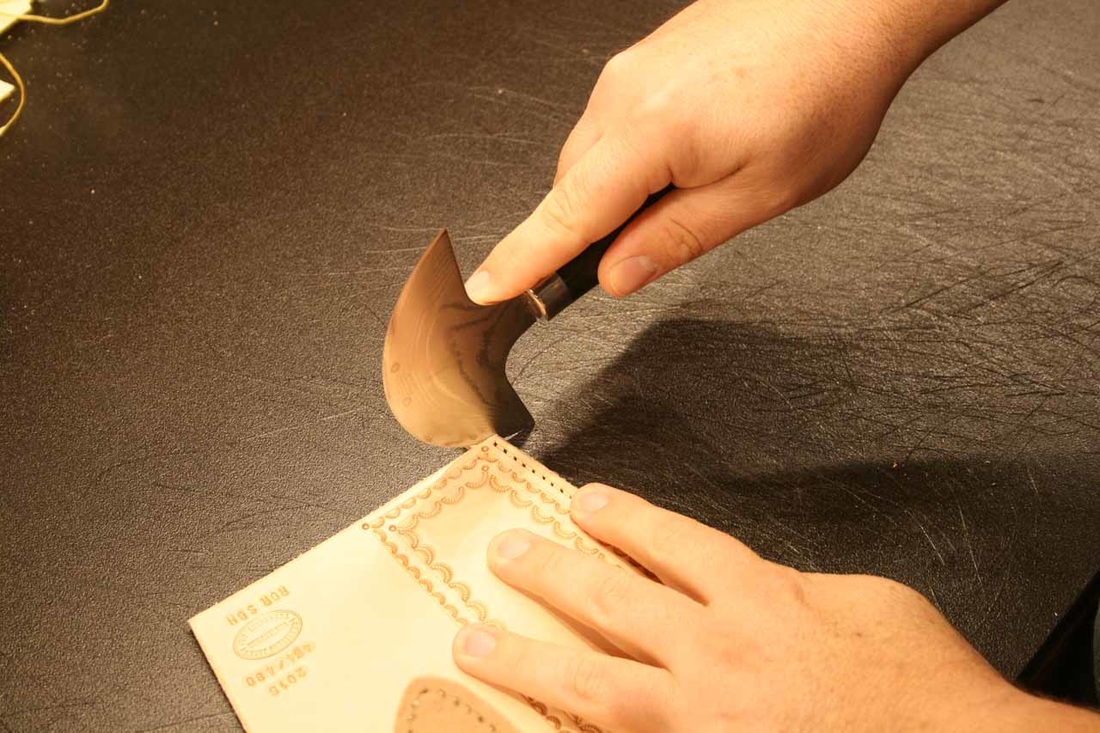
Here we punch the holes for stitching. The haft is a Barry King, the blade a stainless steel Douglas saddler’s awl. It punches a diamond shaped hole that puts the least stress on the material while providing a hole for stitching that will close up when finished. For a very clean looking stitch. It’s best to occasionally poke the awl into a cake of pure beeswax to make it easier to punch the holes. It’s important to angle the awl slightly and to do this consistently along the entire length. This keeps your stitches even along the length.
Holes punched.
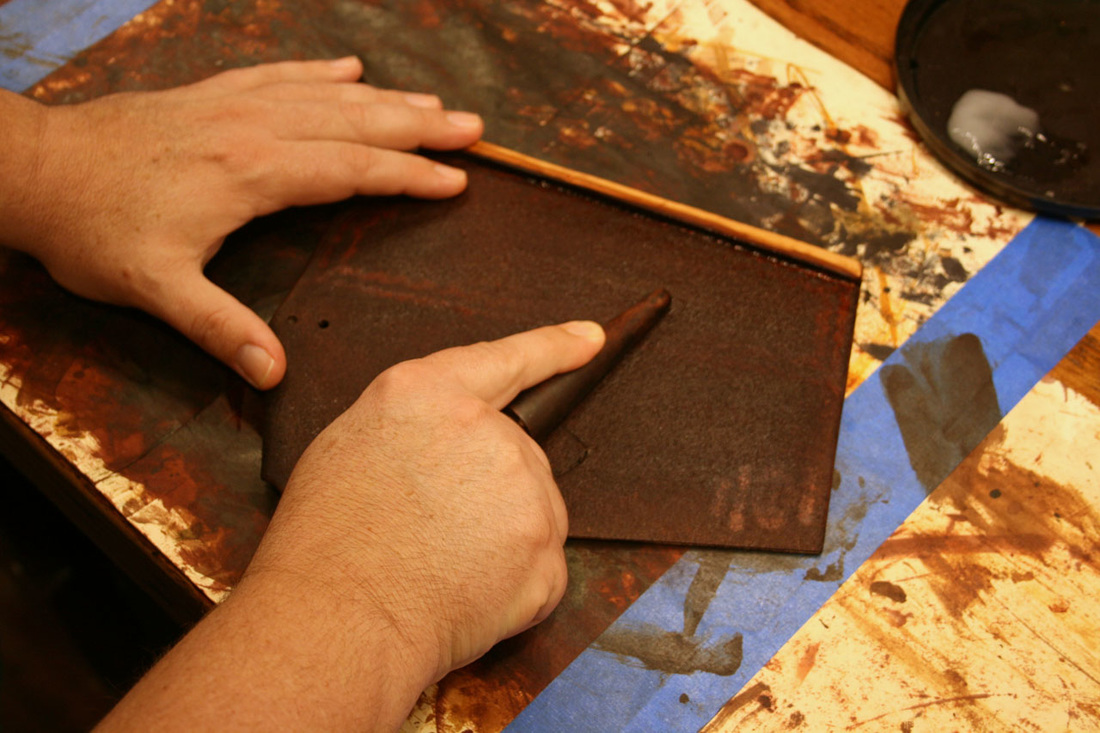
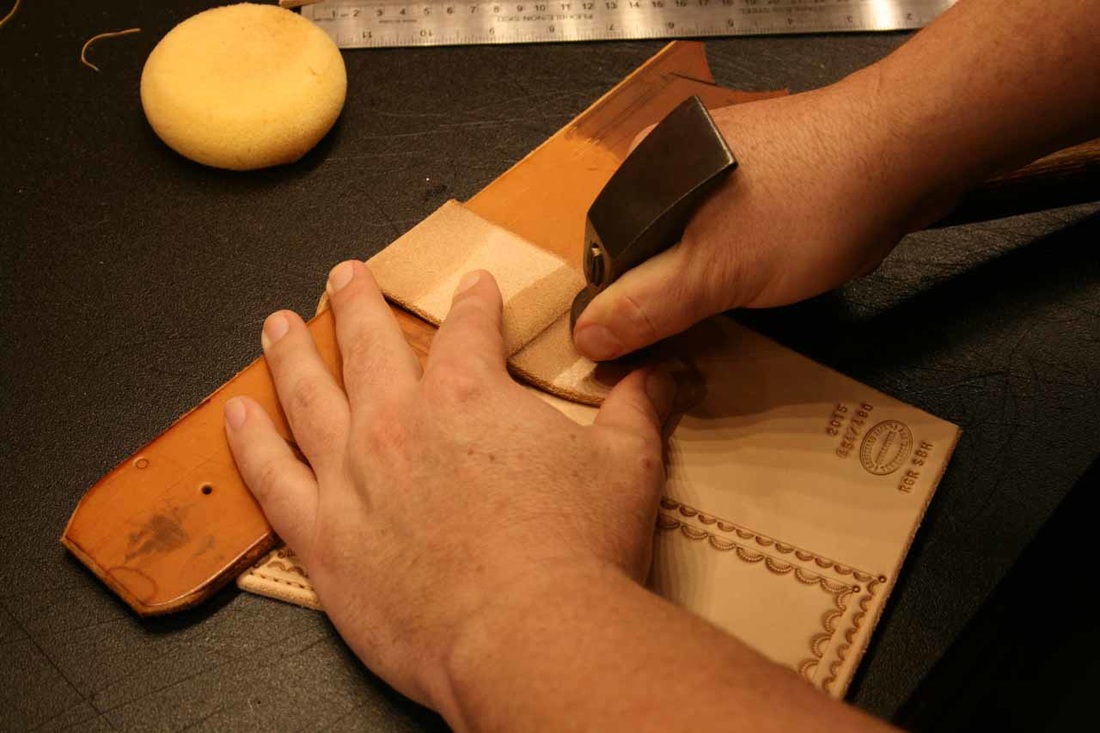
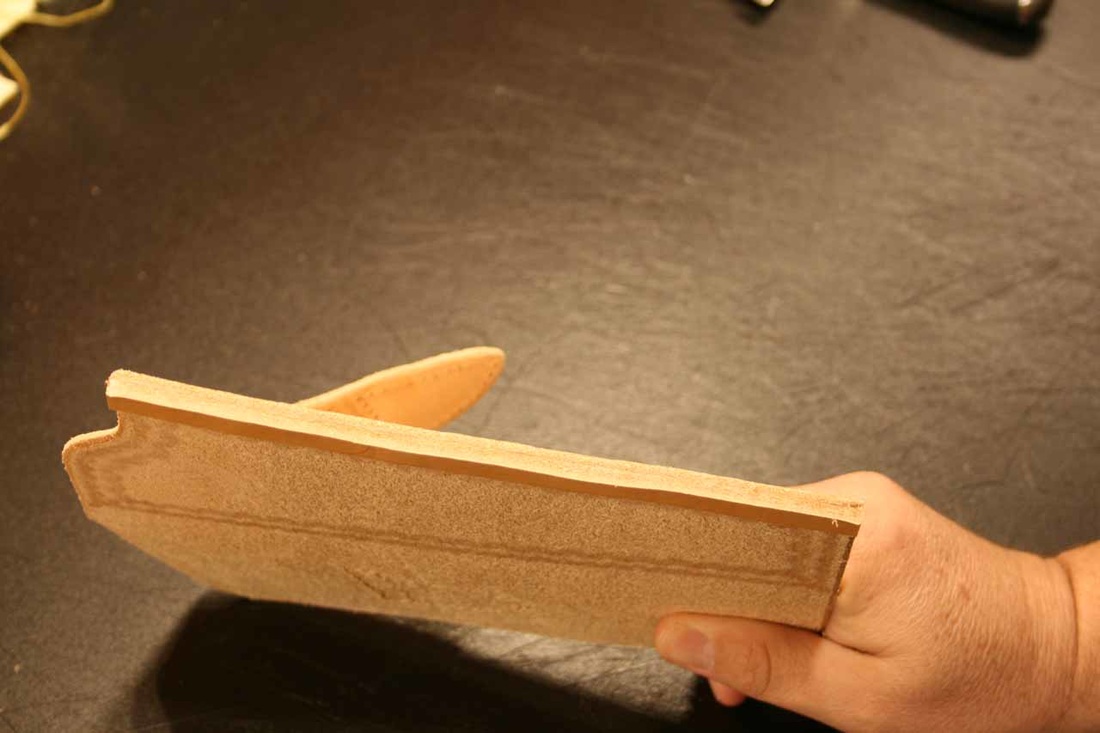
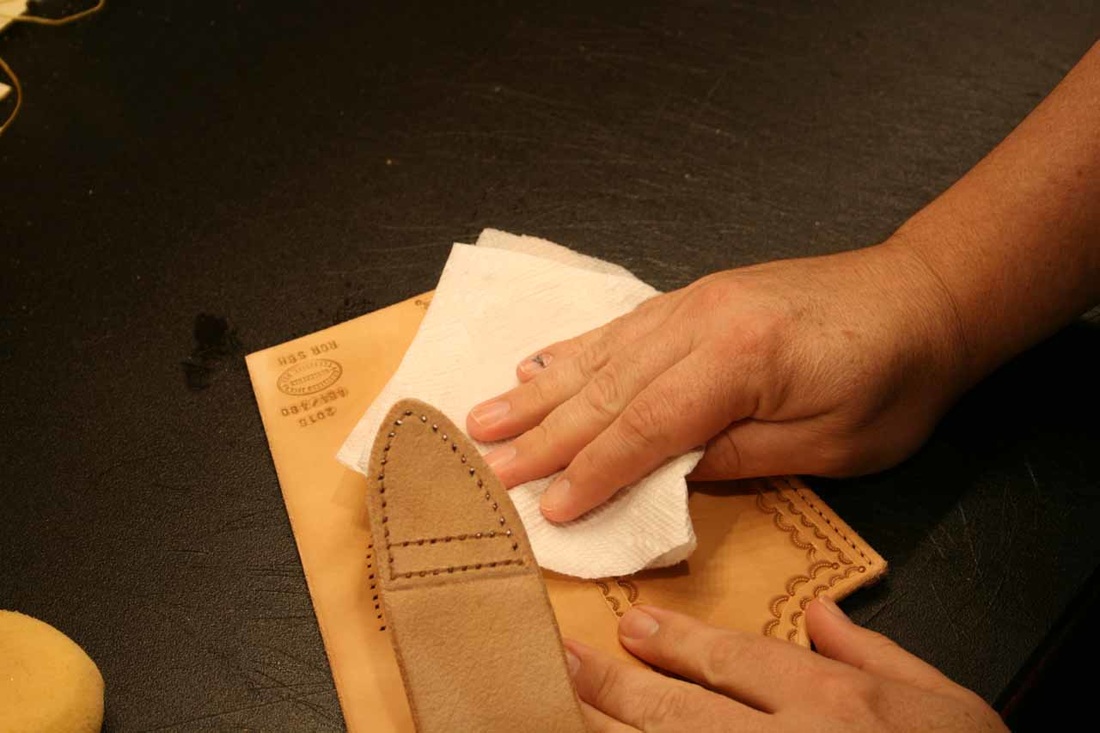
Now I dampen the belt loop at the fold, fold it over a scrap 14oz 2½” belt and use a cobbler’s hammer to crease it.
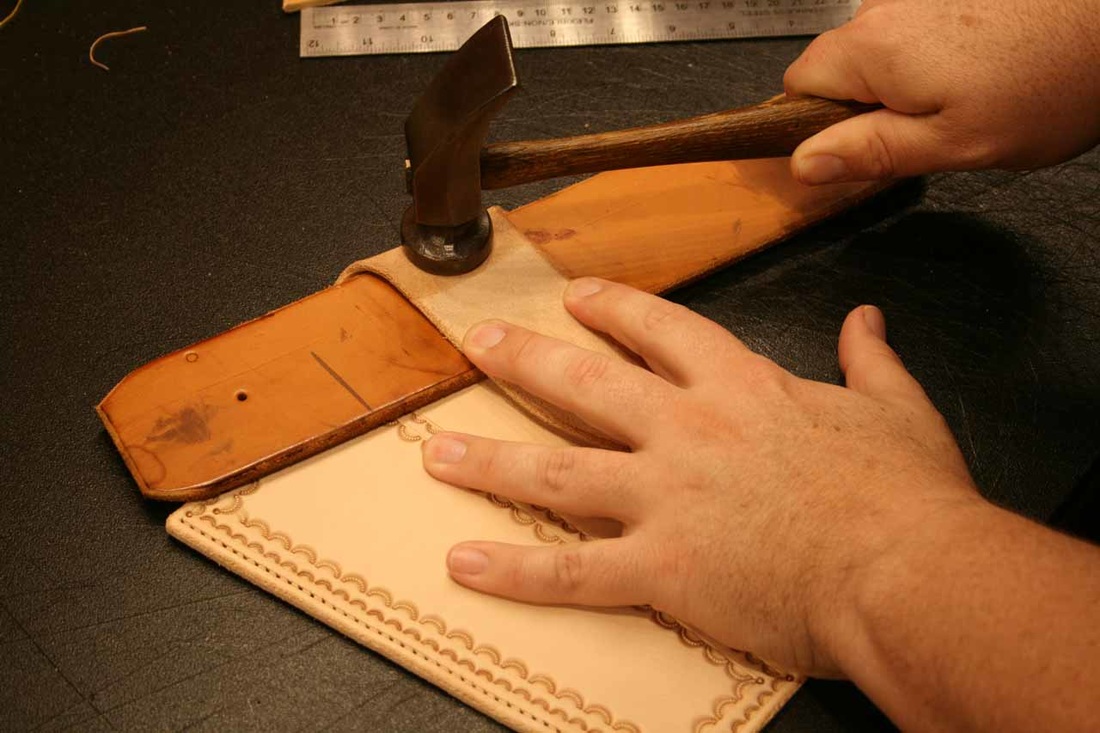
Using the cobbler’s hammer to crease the loop along the bottom.
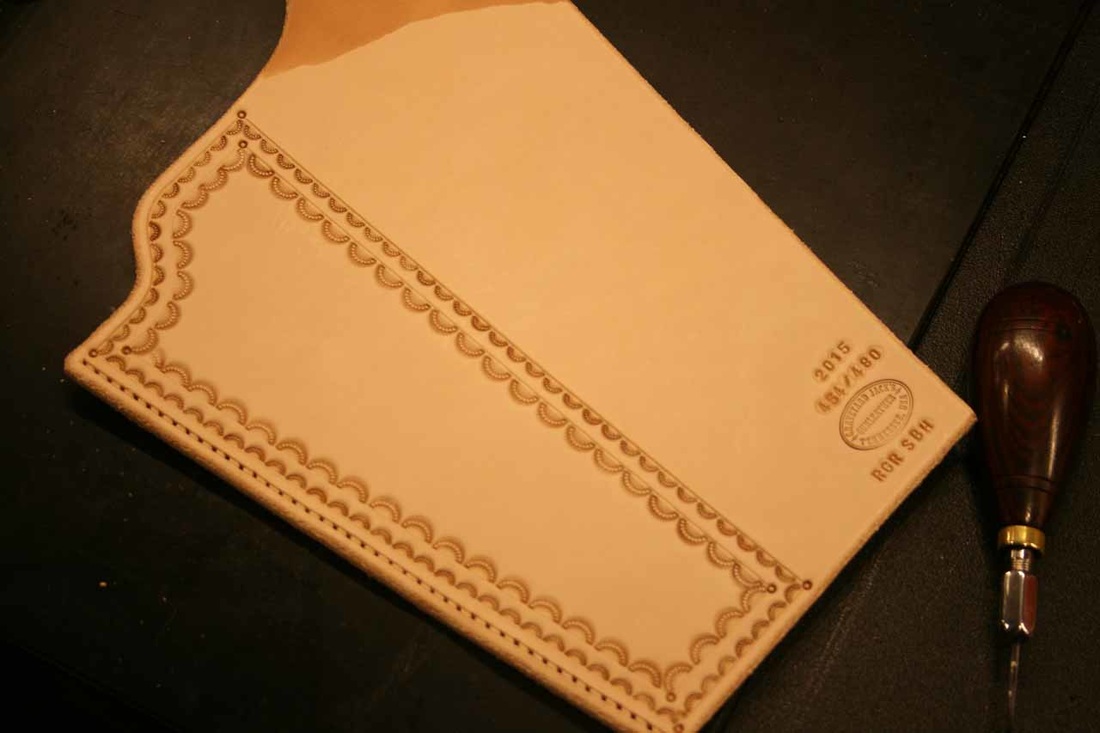
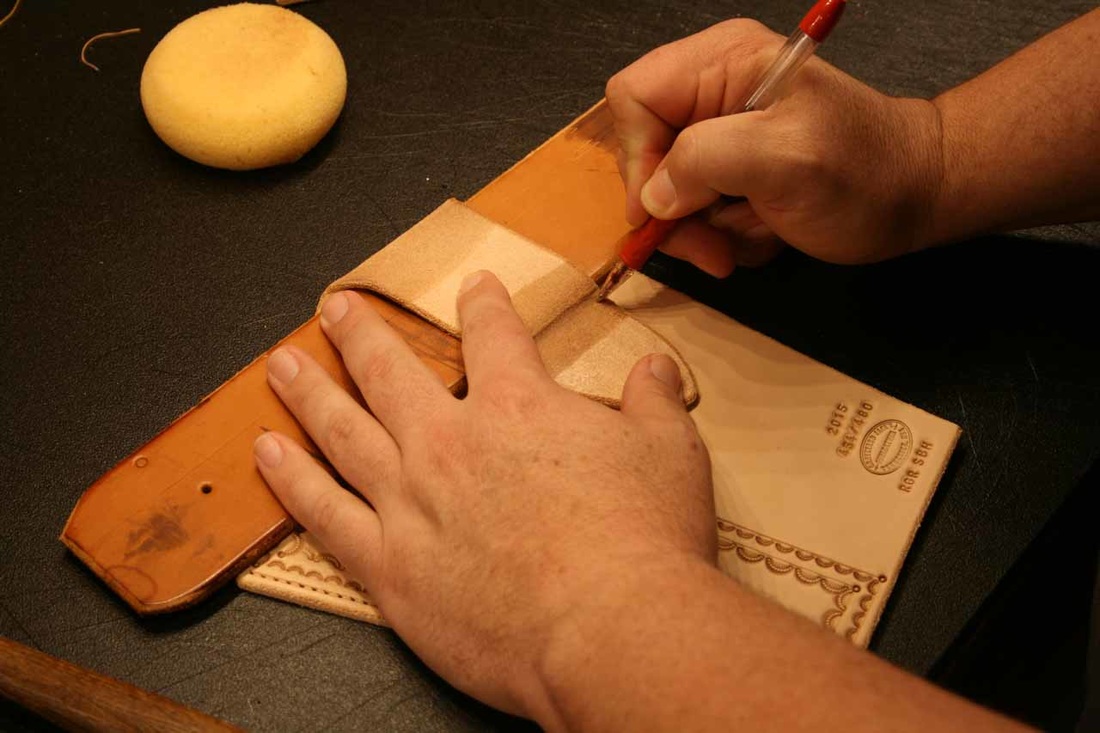
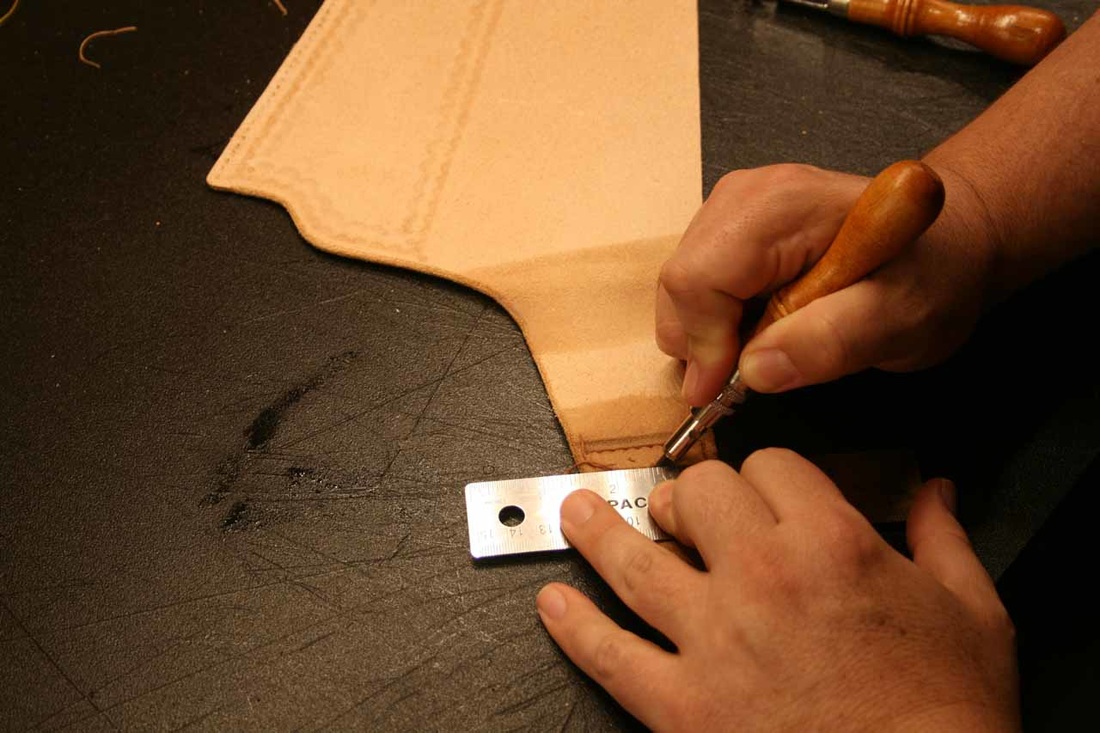
Marking the top of the stitch line.
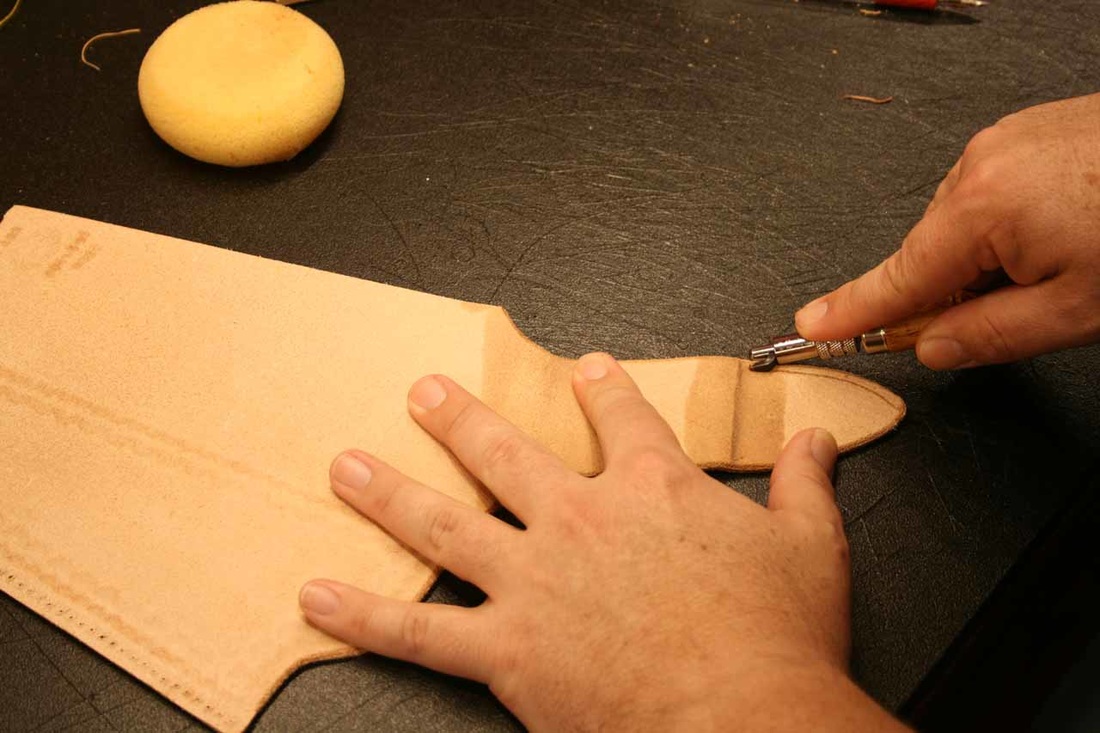
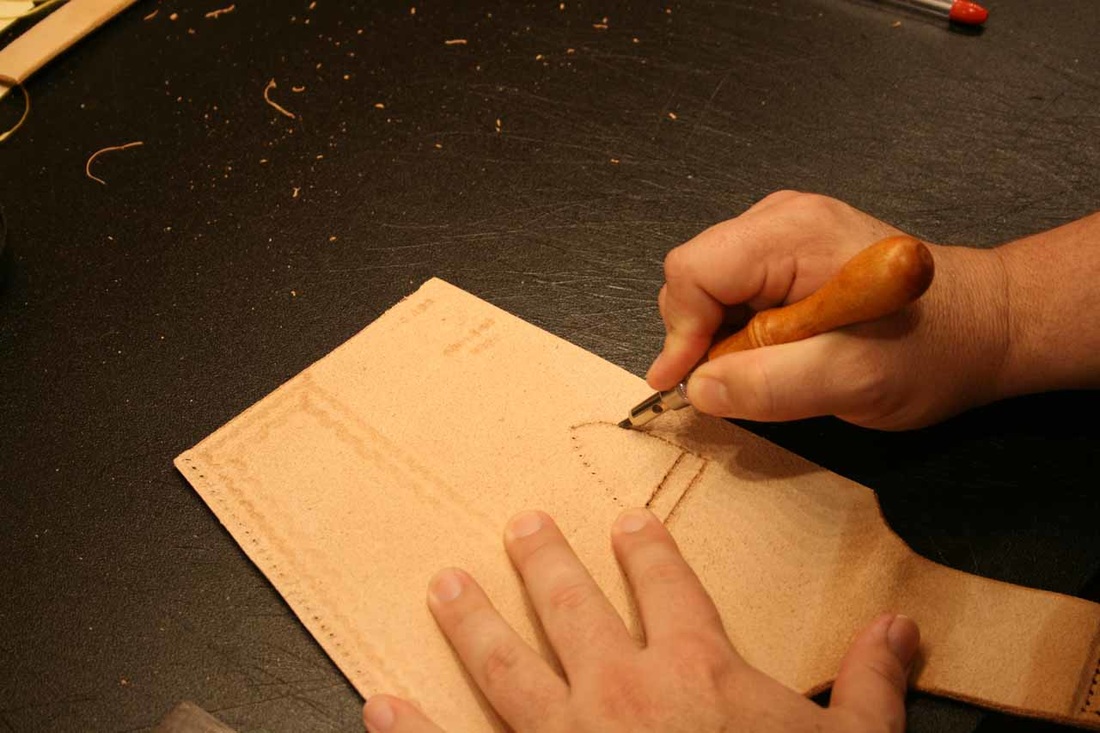
Cutting a stitch groove.
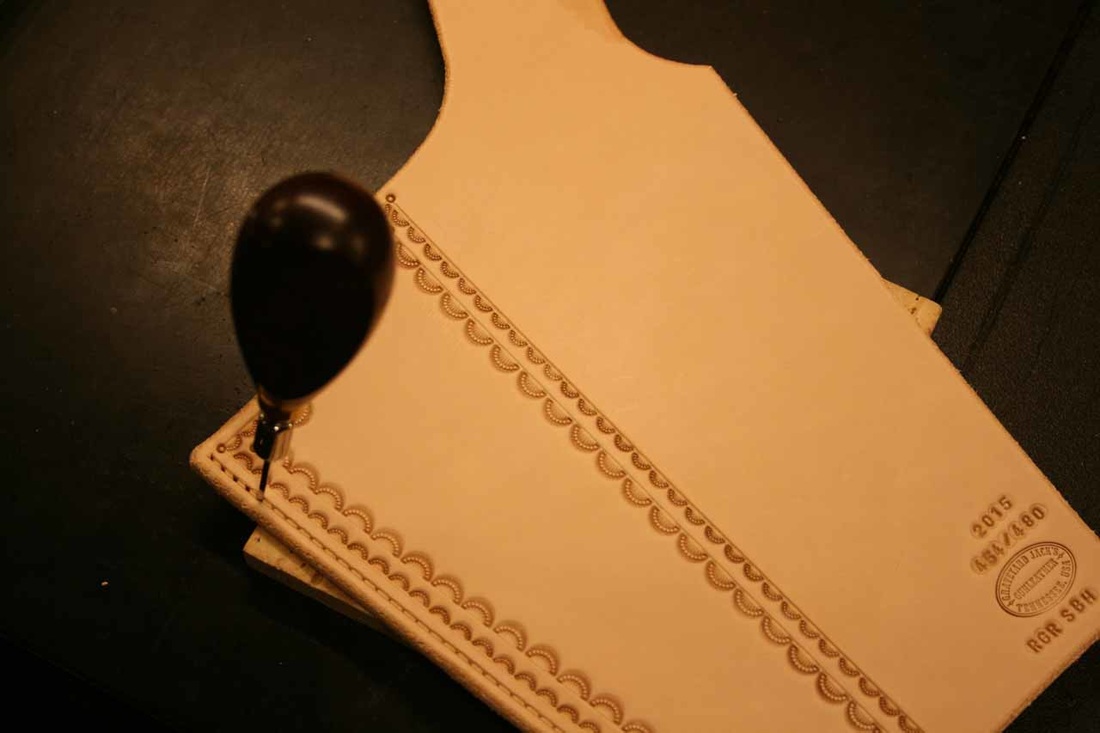
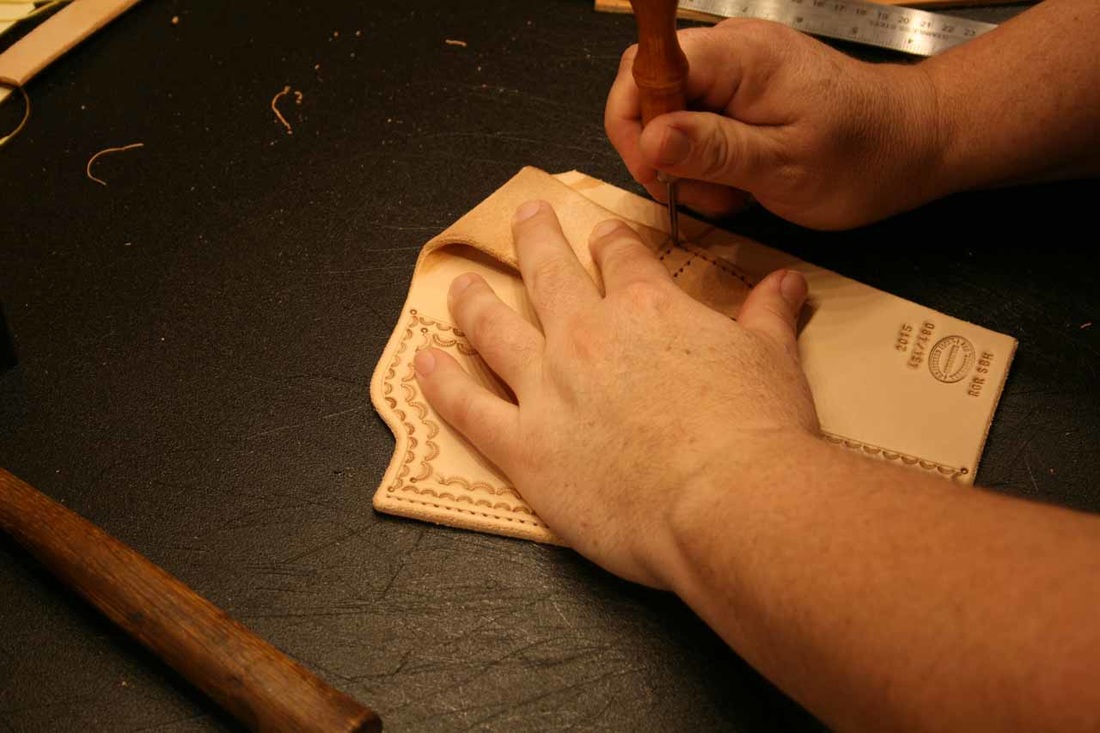
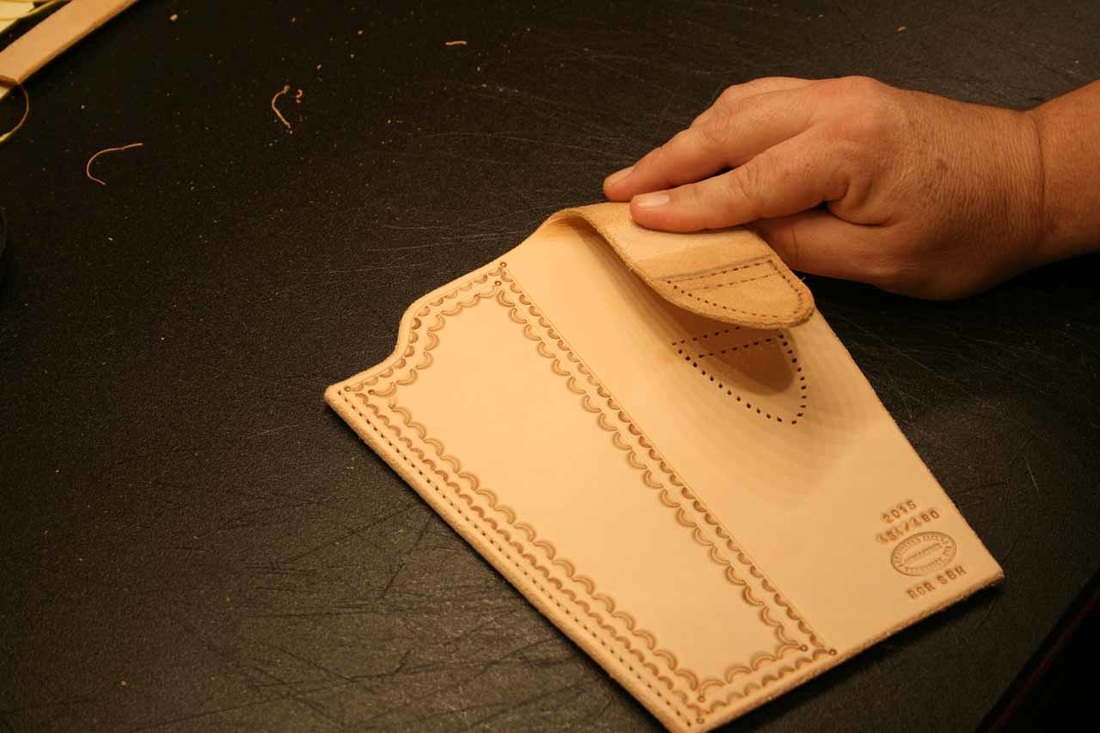
Marking the holes.
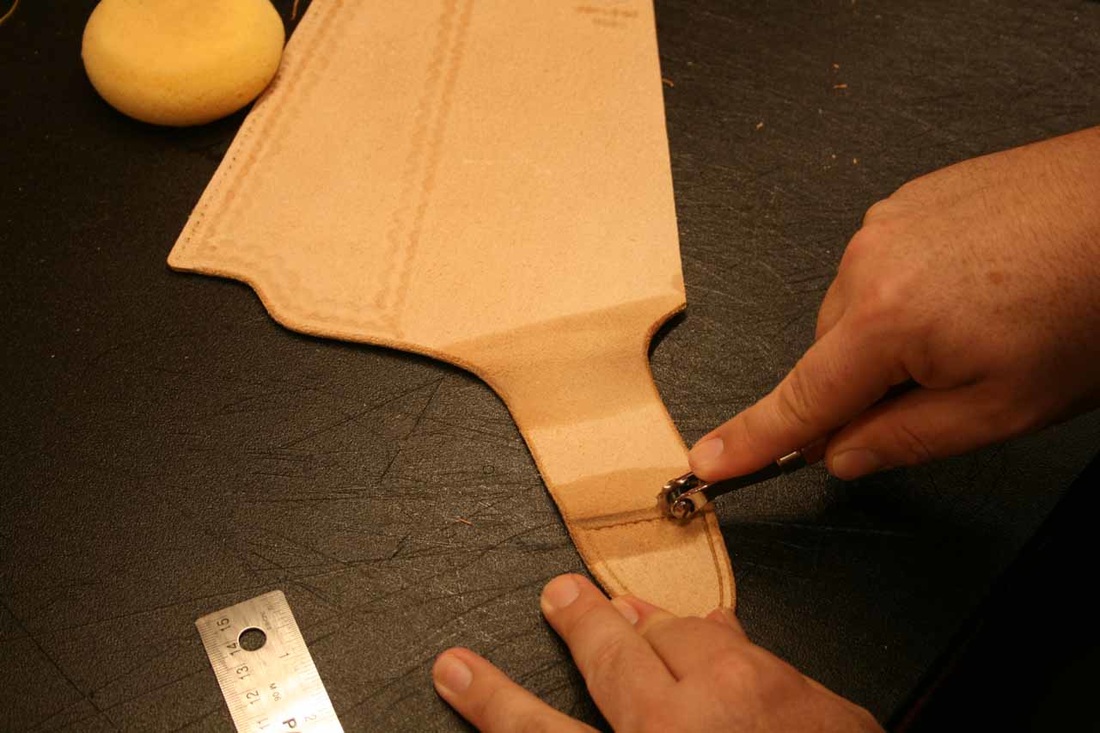
Connecting the second holes with another stitch line across.
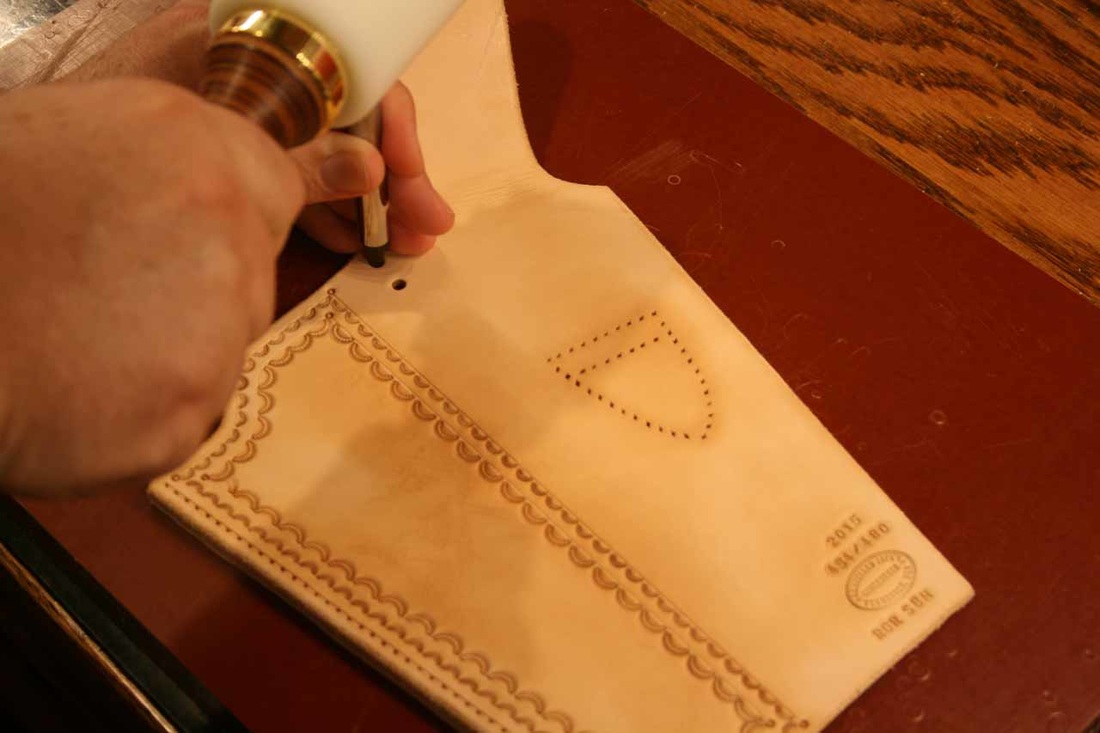
Marking the holes in the pouch with a round awl.
All stitching holes punched.
Cutting a groove in the flesh side. This protects the thread from abrasion from the sixgun being inserted and withdrawn from the holster.
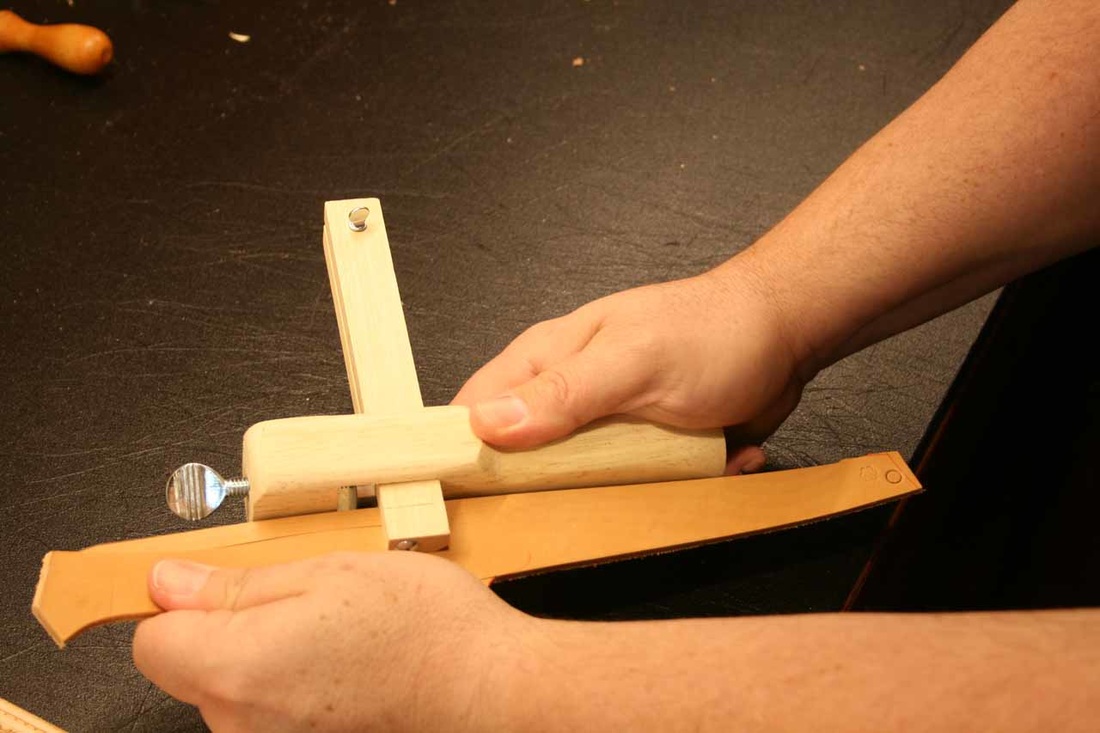
Using the strap cutter to make a 3/8” wide strip for the welt.
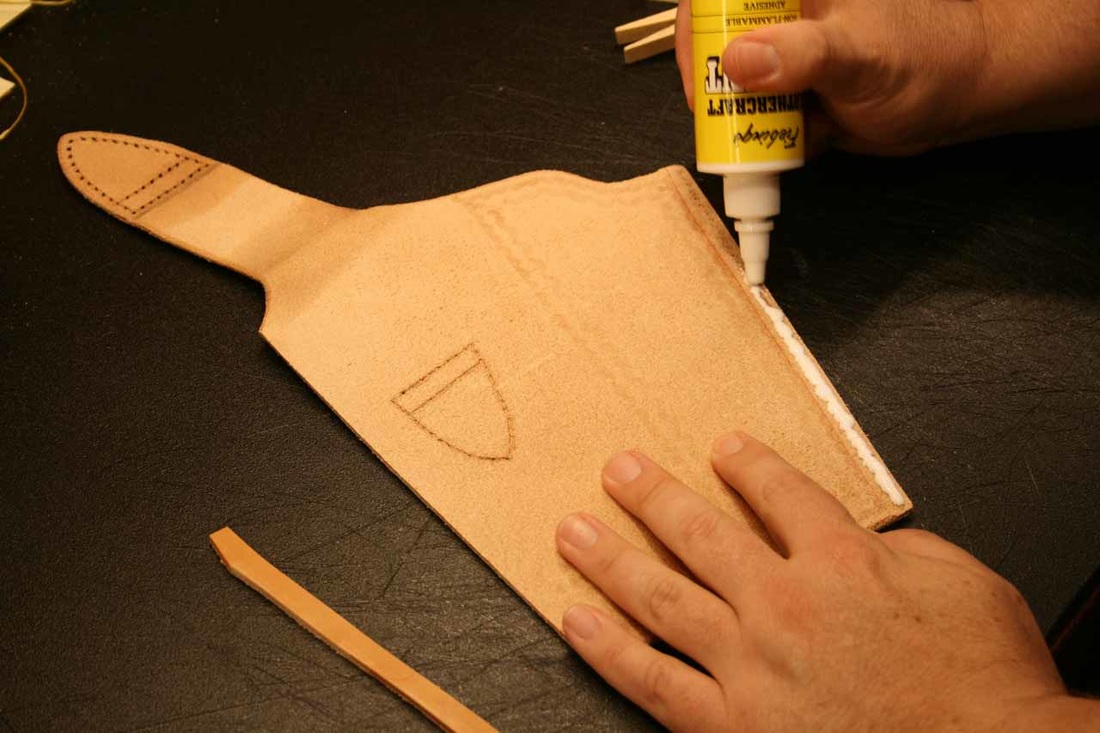
Laying a bead of Fiebing’s leather cement for the welt.
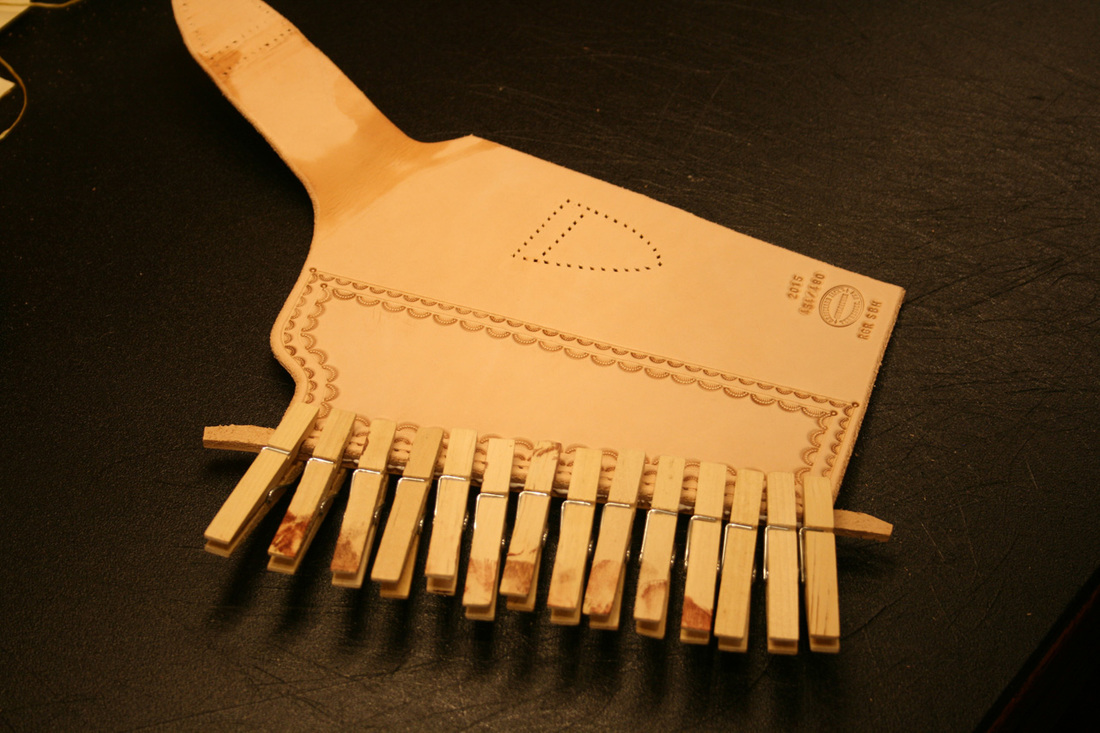
My very technical method of holding the welt in place.
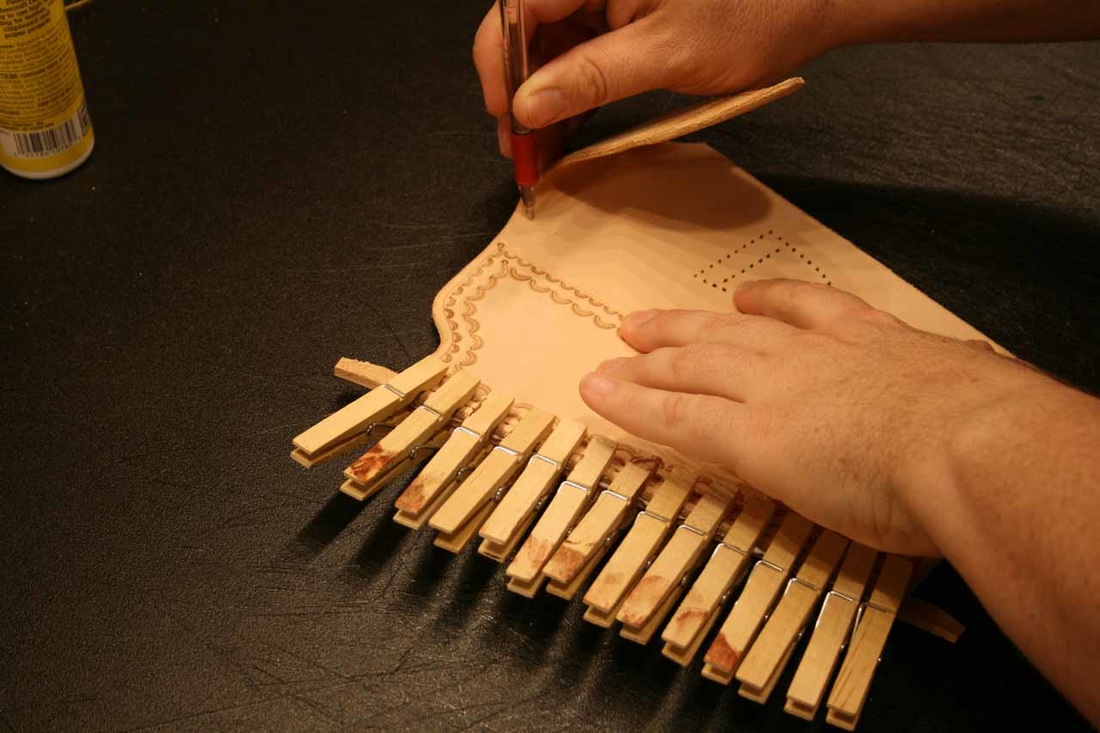
Marking the holes for the thong while I’m thinking about it. Then I’ll set it aside to cure overnight.
Using the round knife to trim the excess off the welt.
The glue is cured and I’ve put the mainseam to the bench sander, basically just to knock the excess glue off.
Cleaning the leather with alcohol to remove any unwanted oils or other contaminates before dyeing.
Punching holes for the thong.
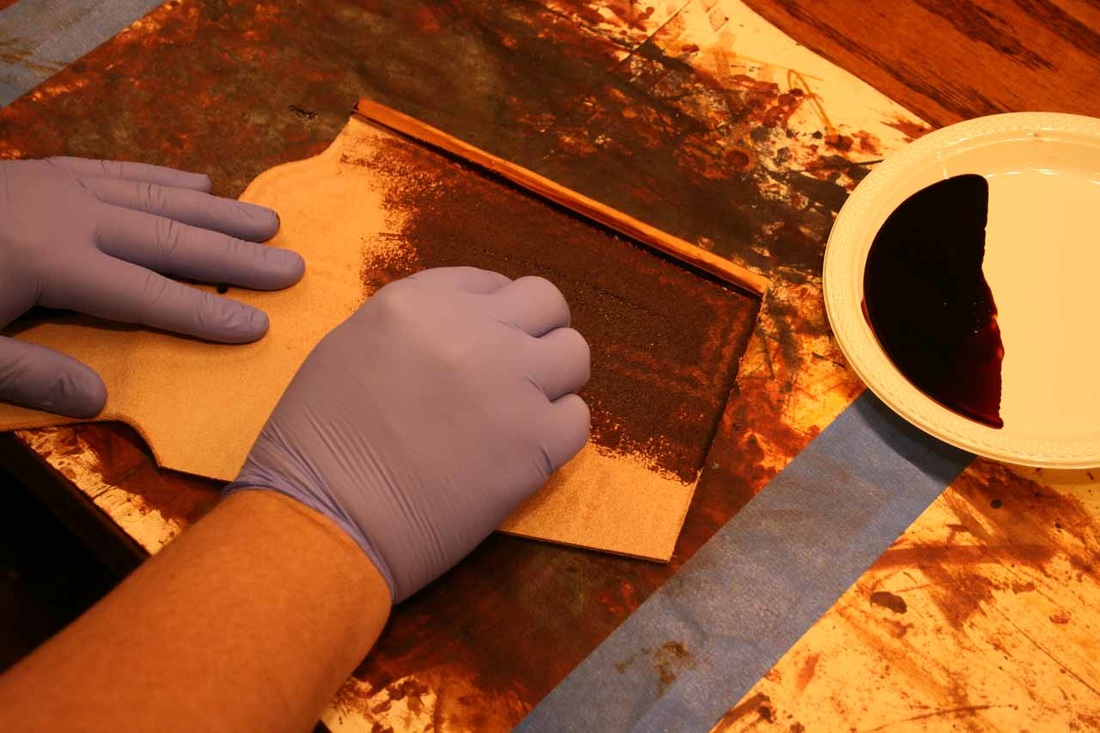
First we’ll dye the flesh side. It will take a good bit of dye to fully penetrate and this will be repeated a couple times. This is a water based product that is actually marketed as “medium brown” but with several coats plus olive oil and the finishing process, it’ll finish off quite dark.
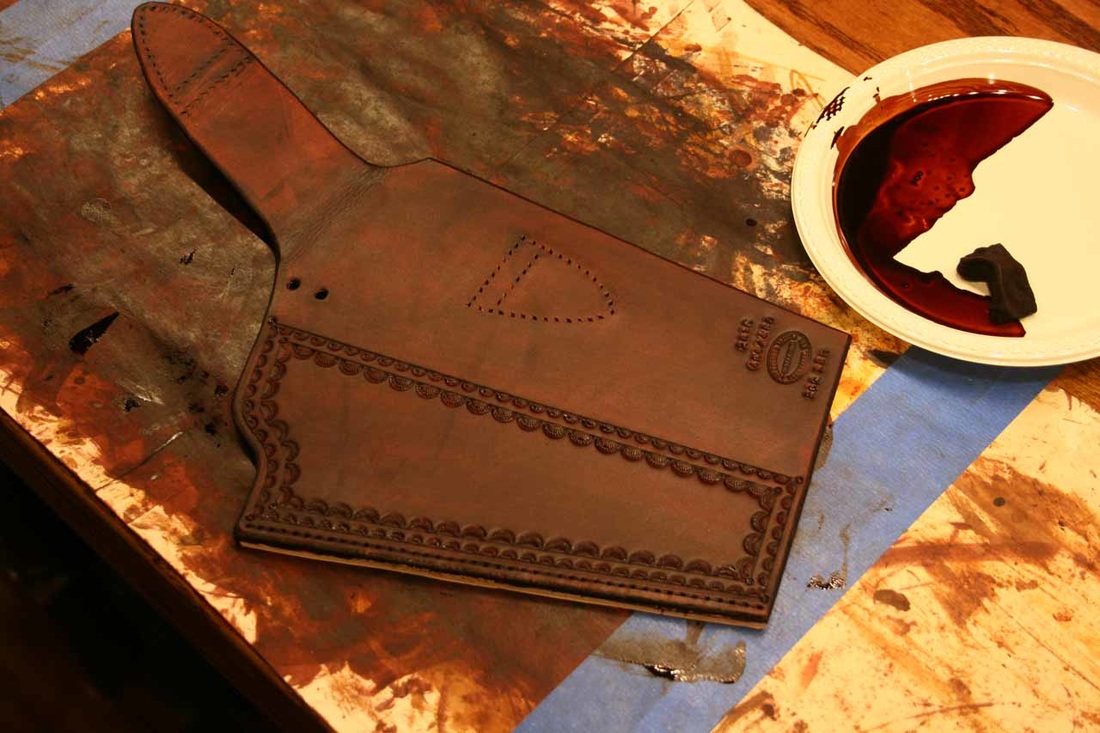
Just one coat for the hair side and one or two more after it’s stitched up. This prevents the color from being uneven around the belt loop. It will dry more evenly than it looks right now.
This is one of the most important steps in the whole process. Highly finished edges are what separates good work from great and we strive to get our edges as nice as we can make them. While the leather is damp with the dye, we’ll begin “slicking”, or burnishing the edges. This wood burnisher will put a nice smooth, rounded edge on the leather. Again, only the throat, belt loop and toe, we won’t be burnishing the mainseam edges until later. Once we’re finished here, the holster will be allowed to dry.

We come back after the holster is dry and first rub in some gum tragacanth (“gum trag” for short). This is a viscous, rather funny-smelling, water soluble gel that has the consistency of snot and is used in the food industry. It’s been used on leather for a very long time and is actually suitable as a final finish with a low gloss luster. This will begin the sealing process. We'll do the flesh side only while there is full access to the interior of the holster. Be careful not to get it anywhere else because anywhere gum trag touches will not as readily absorb the dye later.
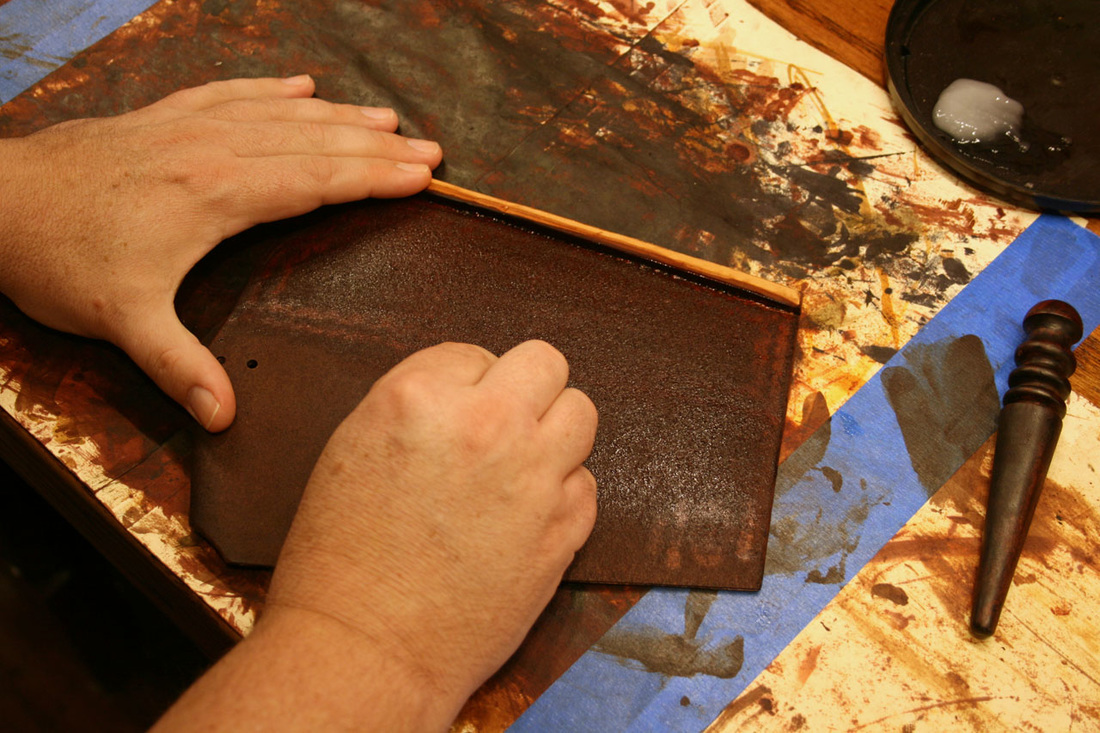
While damp with the gum trag, we will burnish the flesh side of the leather with a wooden slicker. This smooths and seals the fibers and produces a nice, much more finished result than leaving it rough.