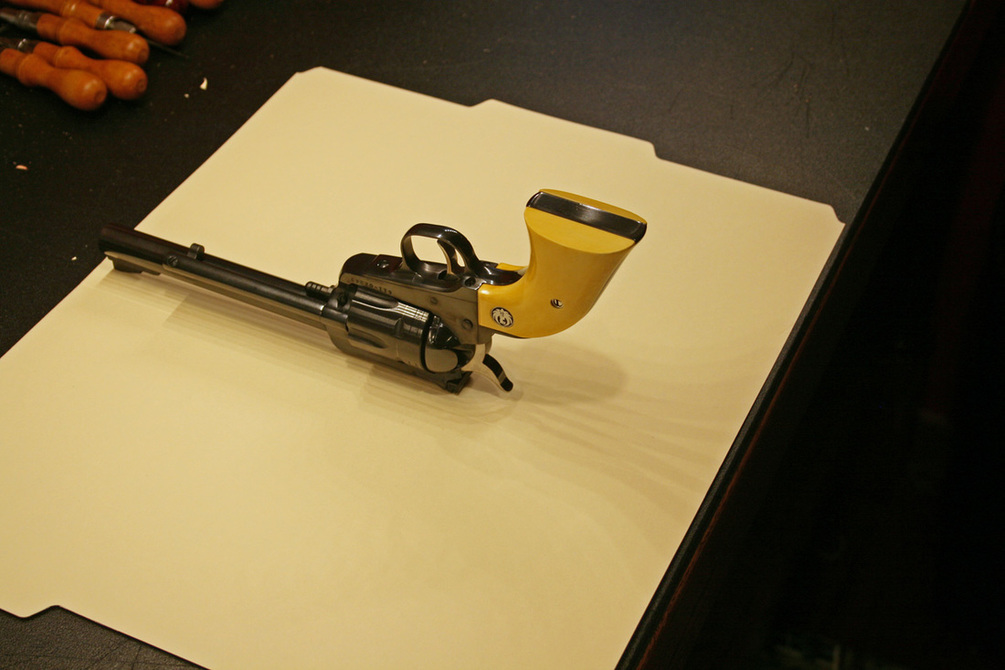
The first step is to create the pattern. We start with a sixgun similar enough to create a pattern around. In this case, the holster is for one of the new Ruger five-shot .454/.480 Bisley Super Blackhawks. For a dummy, we're using my never before seen Buckeye .38-40. We’ll allow a bit of extra room for the five-shot gun’s longer ejector and not worry about that again until it comes to wet forming much later.
We start by taking a 14” manila folder and standing the sixgun sights down and centered along the fold.
We start by taking a 14” manila folder and standing the sixgun sights down and centered along the fold.
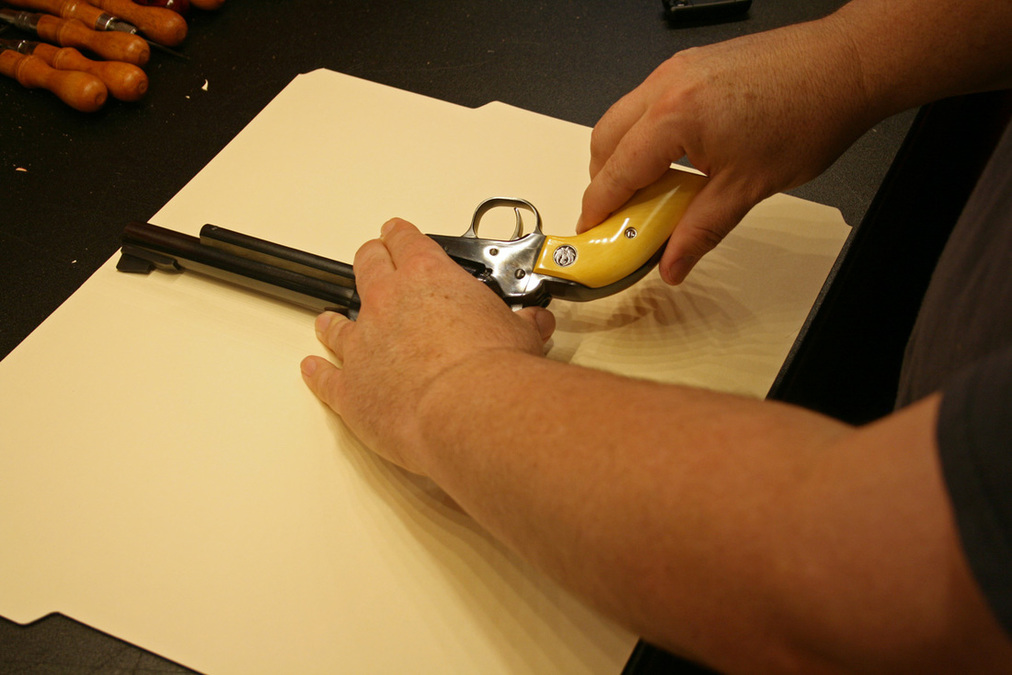
We then carefully roll the sixgun over on its side and trace it out.
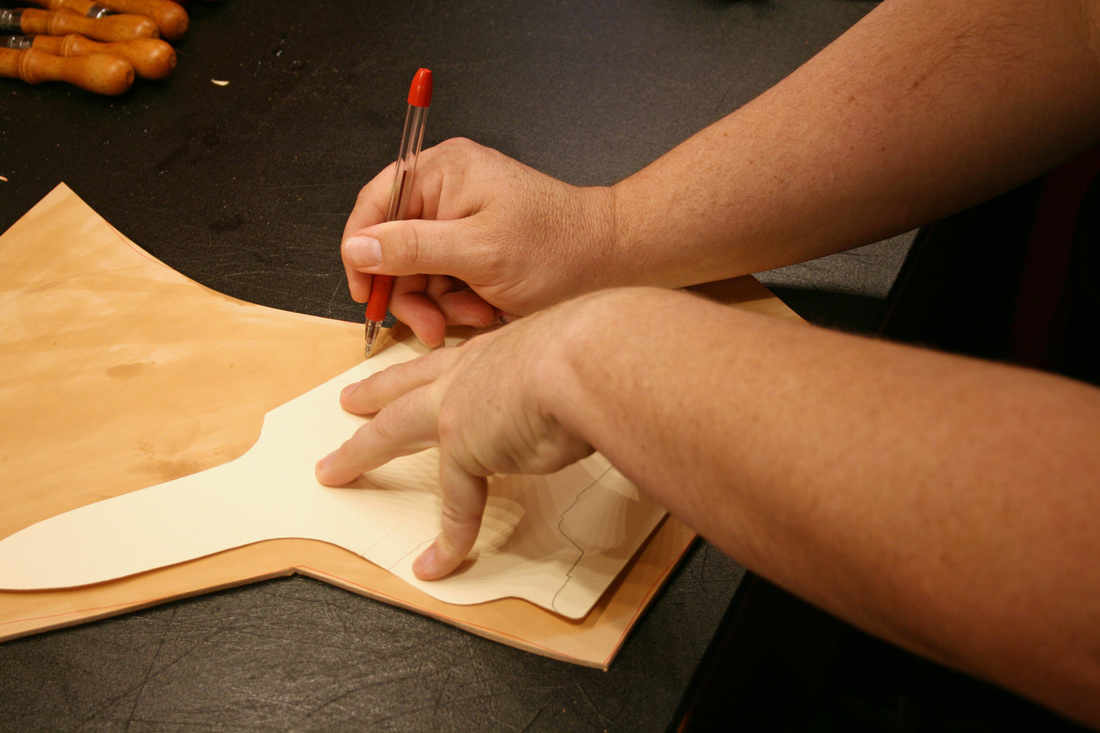
Now we’ll begin drawing up the pattern. Since this is not an original design, we will base the pattern off an existing example. In this case, a stitched toe Threepersons for a large frame Blackhawk. I’ll trace this pattern on the folder and then modify it as needed to fit. This will be an open toe holster so the shape of the toe, as well as the overall length, will be modified.

Once satisfied with the pattern, I’ll fold it and cut out the areas that are symmetrical, such as the mainseam and toe. Here we can see why the open toe version is less expensive, everything about the process is easier due to the straight mainseam and toe. Then I’ll unfold it to cut out the areas that are asymmetrical such as the throat and belt loop. This ensures the two sides mate up perfectly when the holster is folded, glued and stitched.
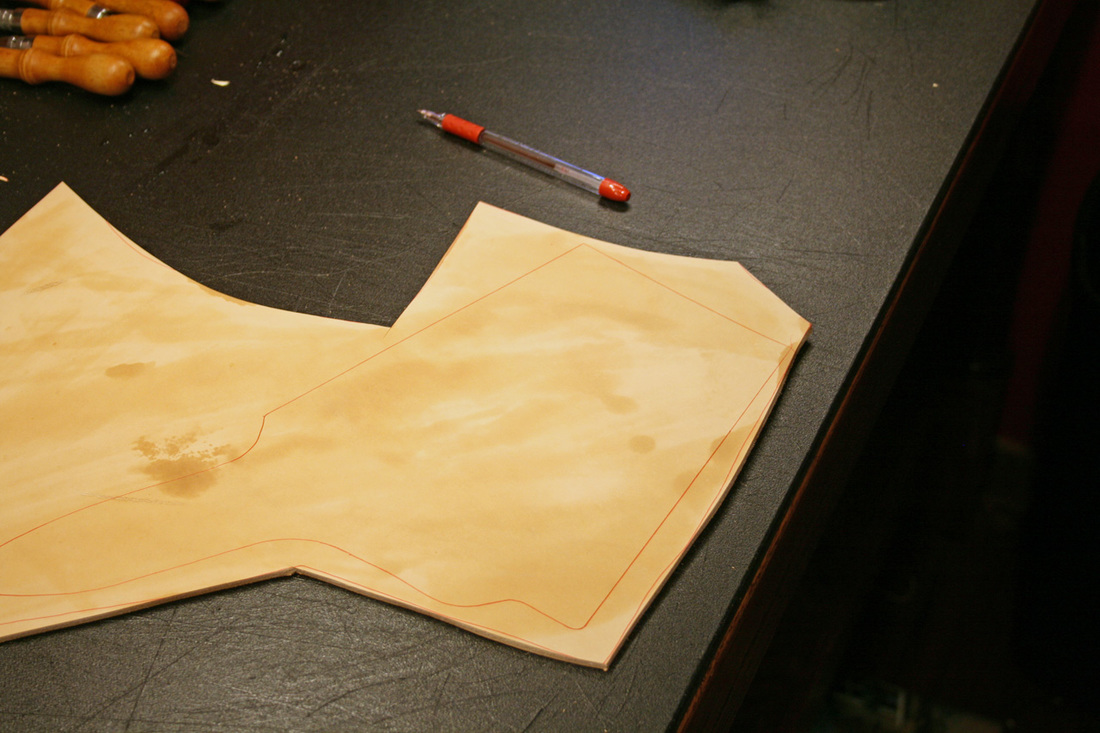
Here’s the finished pattern.
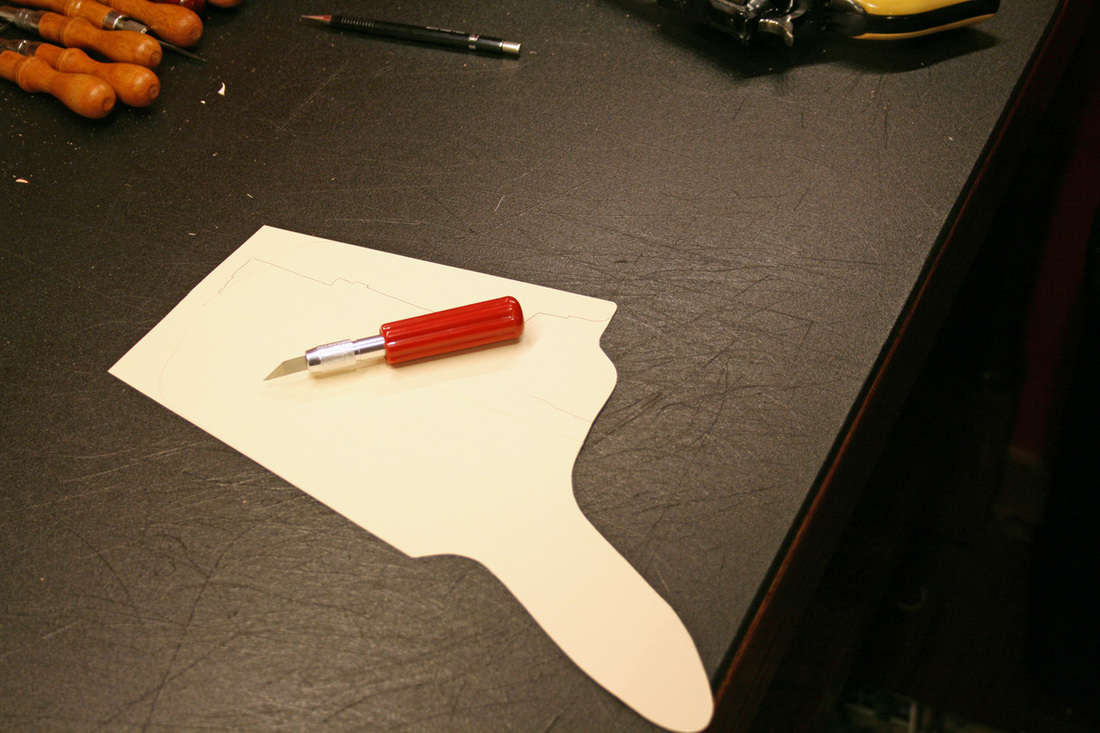
Next I’ll find a suitable section of 8-9oz vegetable tanned cowhide that is without flaws like scrapes or pithy areas of the flesh side. A smooth flesh side is just as important as the hair side. I don’t typically shy away from scars because it lends some rustic character but those bad enough to affect the integrity of the finished product are avoided. In this case, there is a big scrape to the left of my pattern and that is what we’re trying to avoid here.
I do a rough tracing and cut the section away from the rest of the hide with a rotary cutter to make it easier to manage.
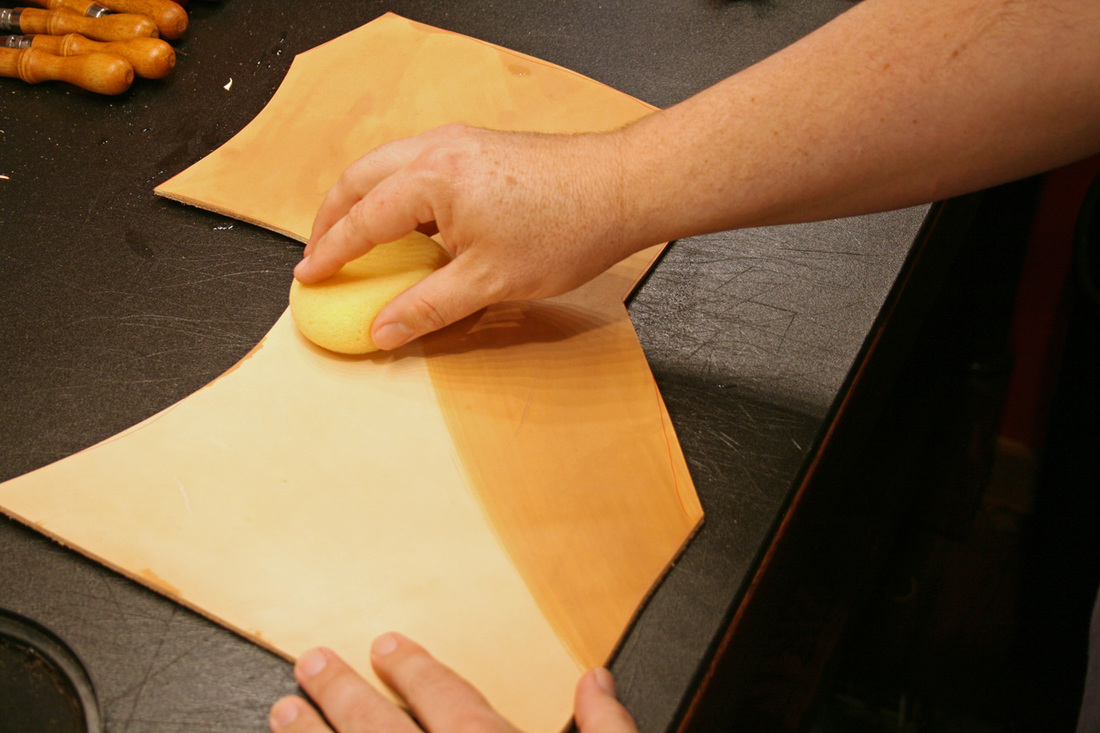
Hides are stored rolled up so I then dampen the leather on both sides with distilled water to help flatten it out. It also makes it easier to cut.
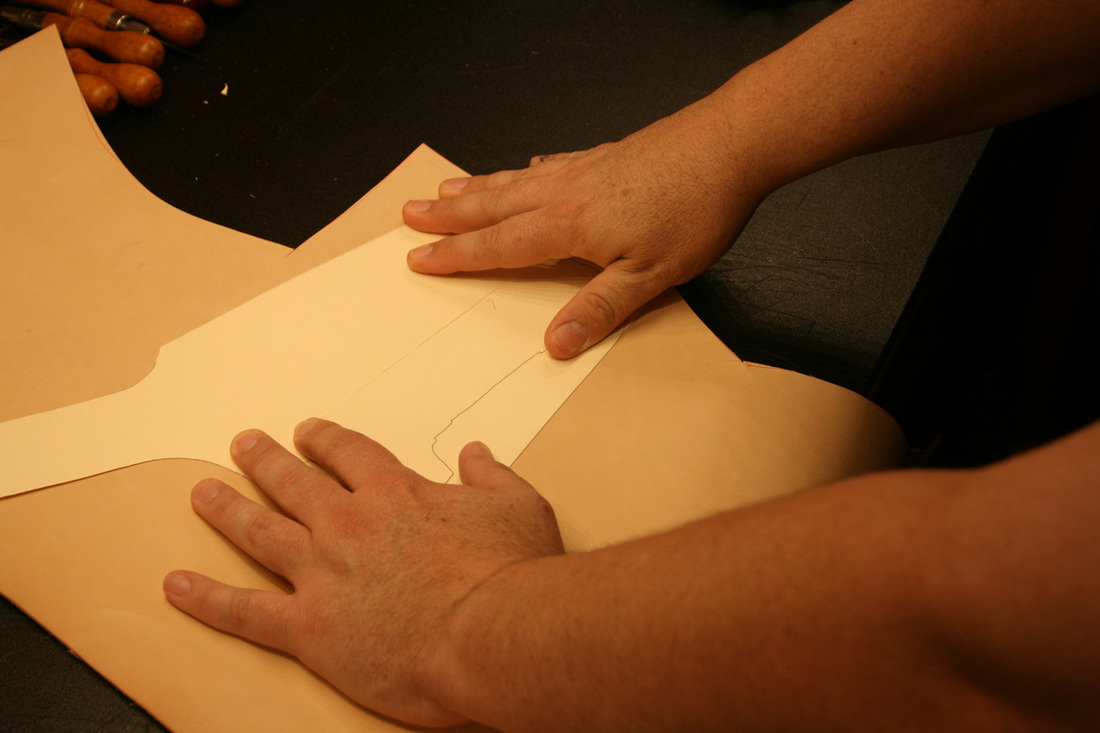
Now I can trace out my pattern. I use red ink because it is more easily covered by the dye if it gets anywhere it’s not supposed to.
Pattern traced out.
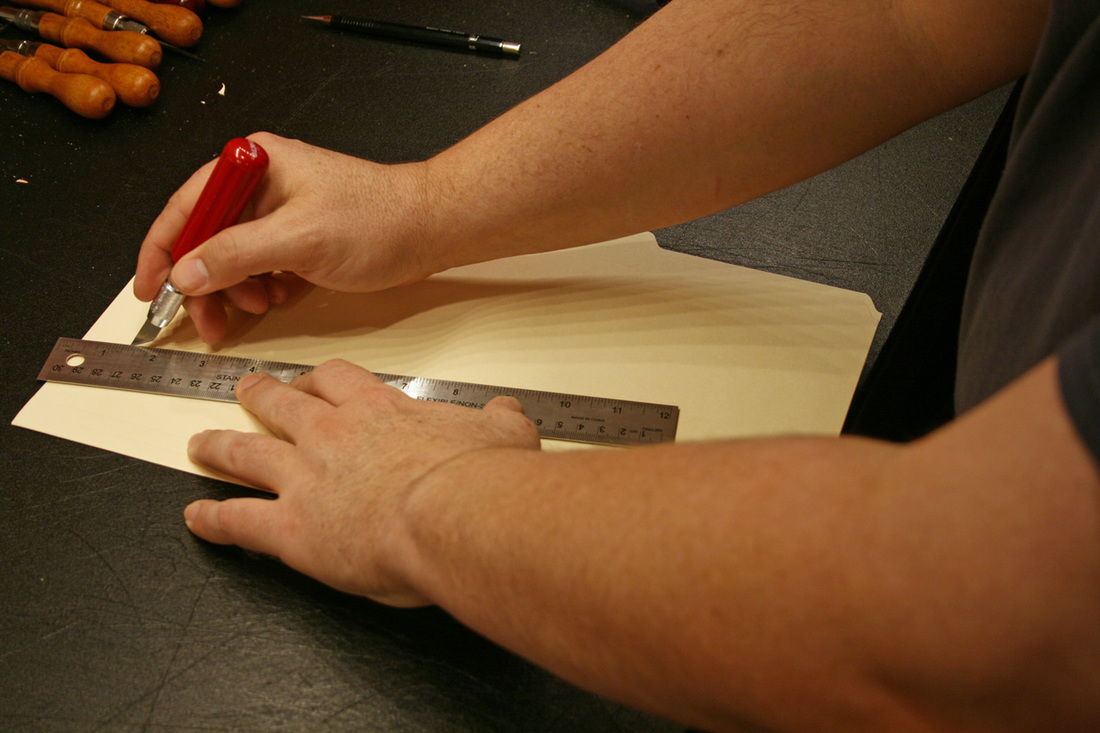
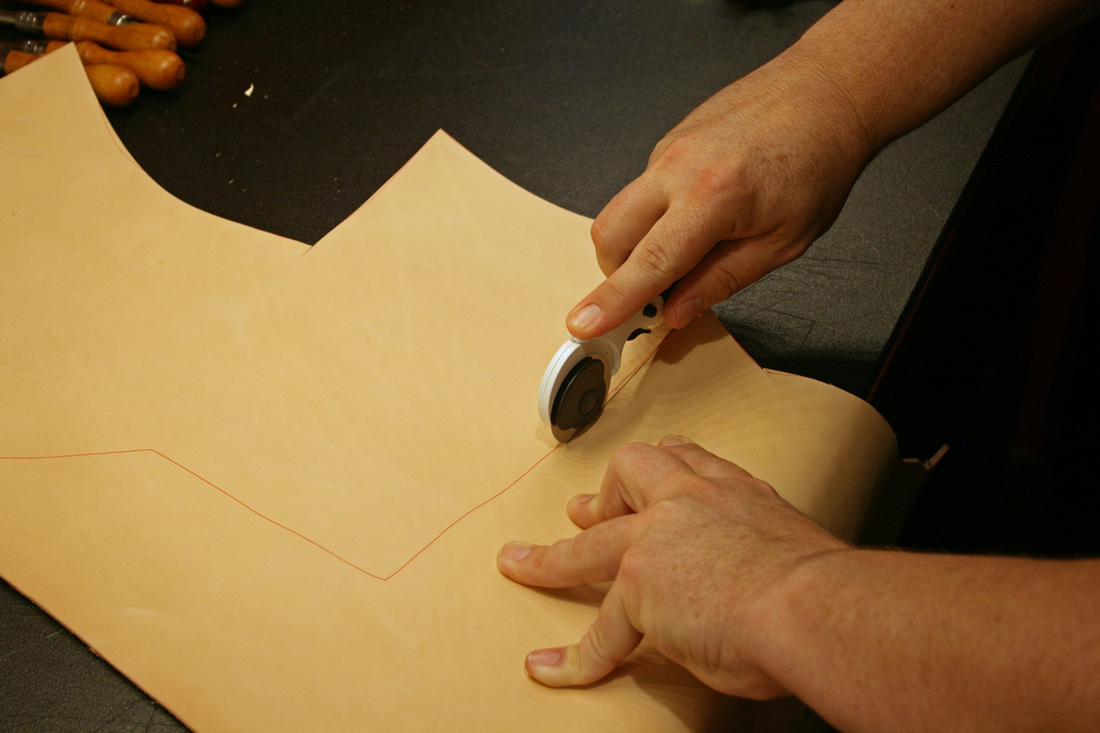
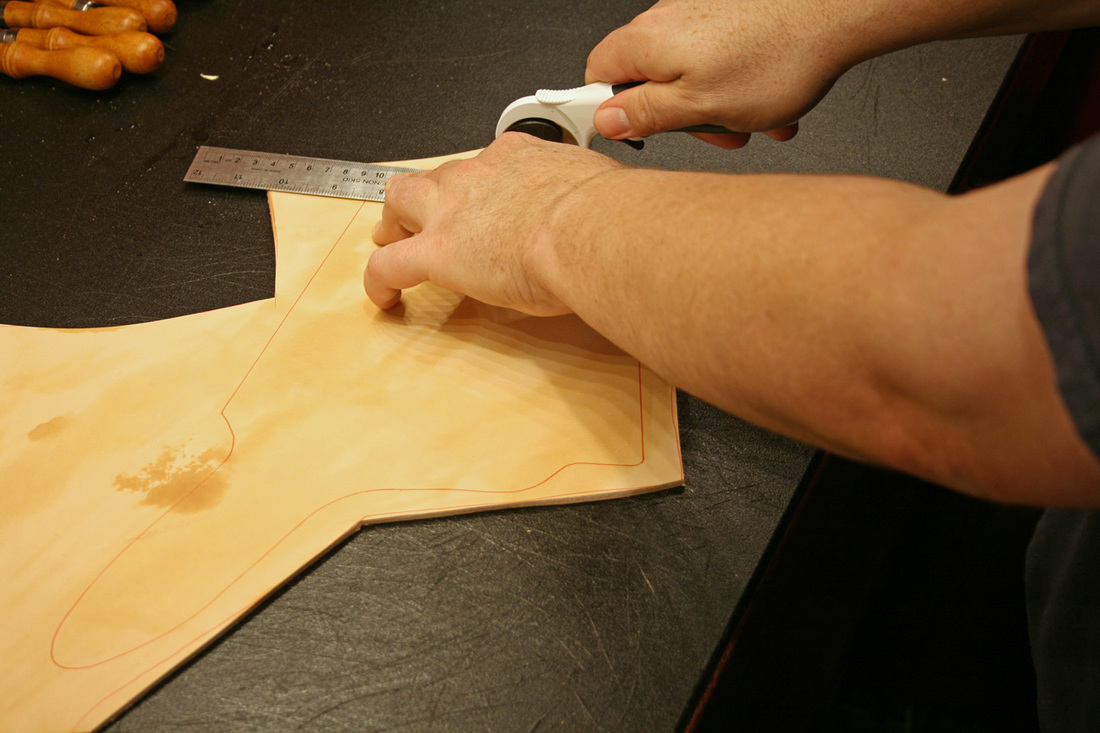
Now I’ll cut it out, using the rotary cutter and a stainless steel ruler as a straight edge for the straight cuts…..
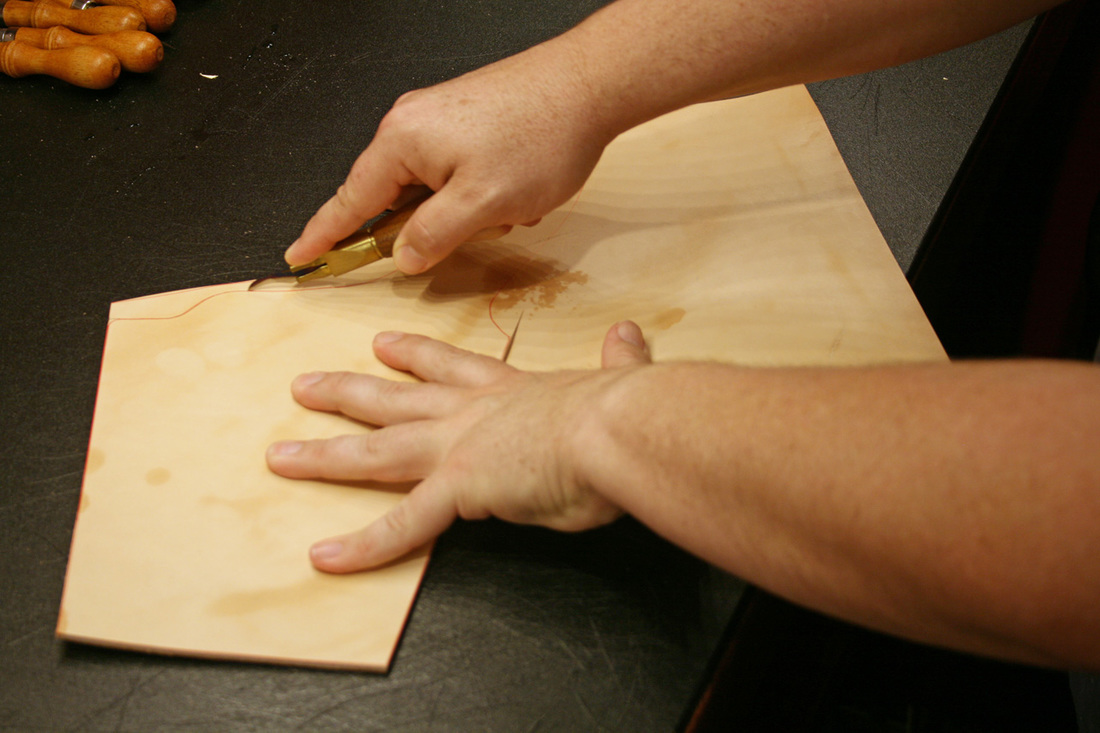
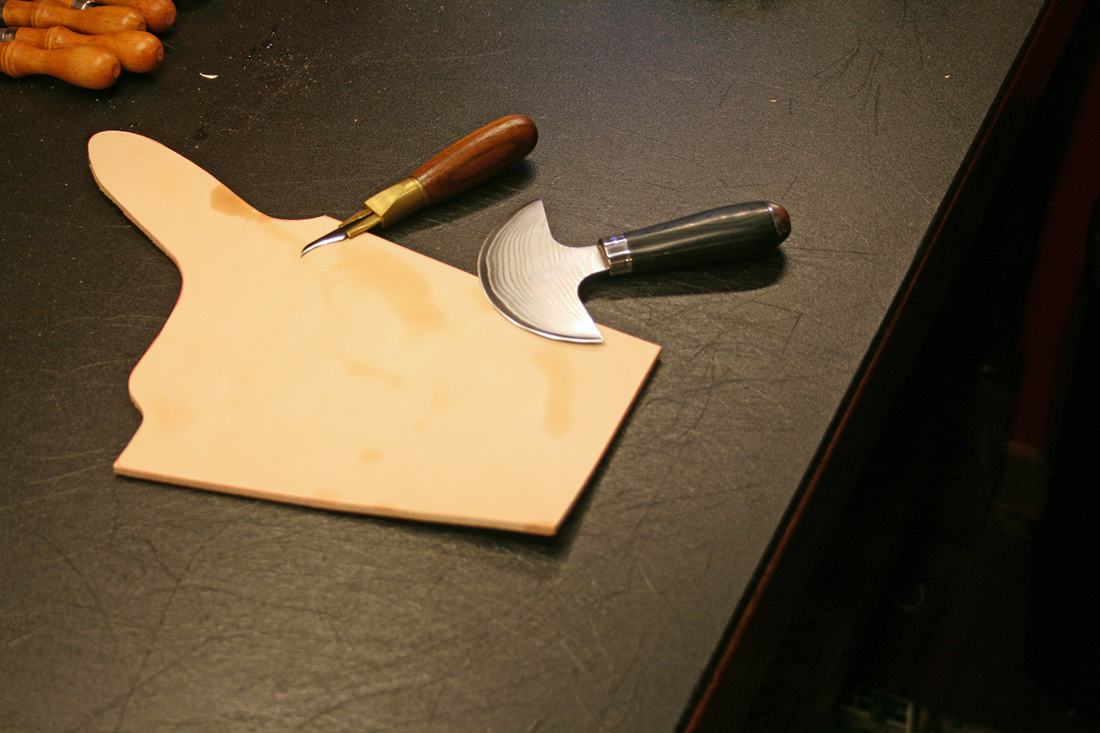
…..and an assortment of knives for the rest. Most other patterns have few straight edges.
Done!
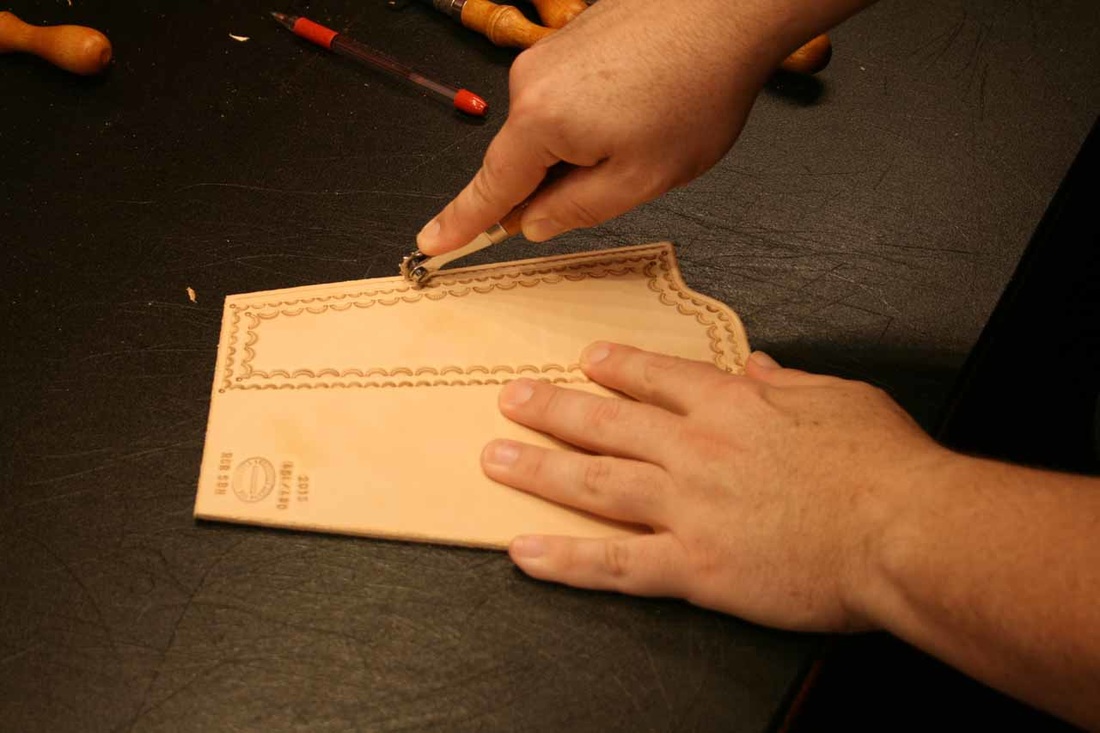
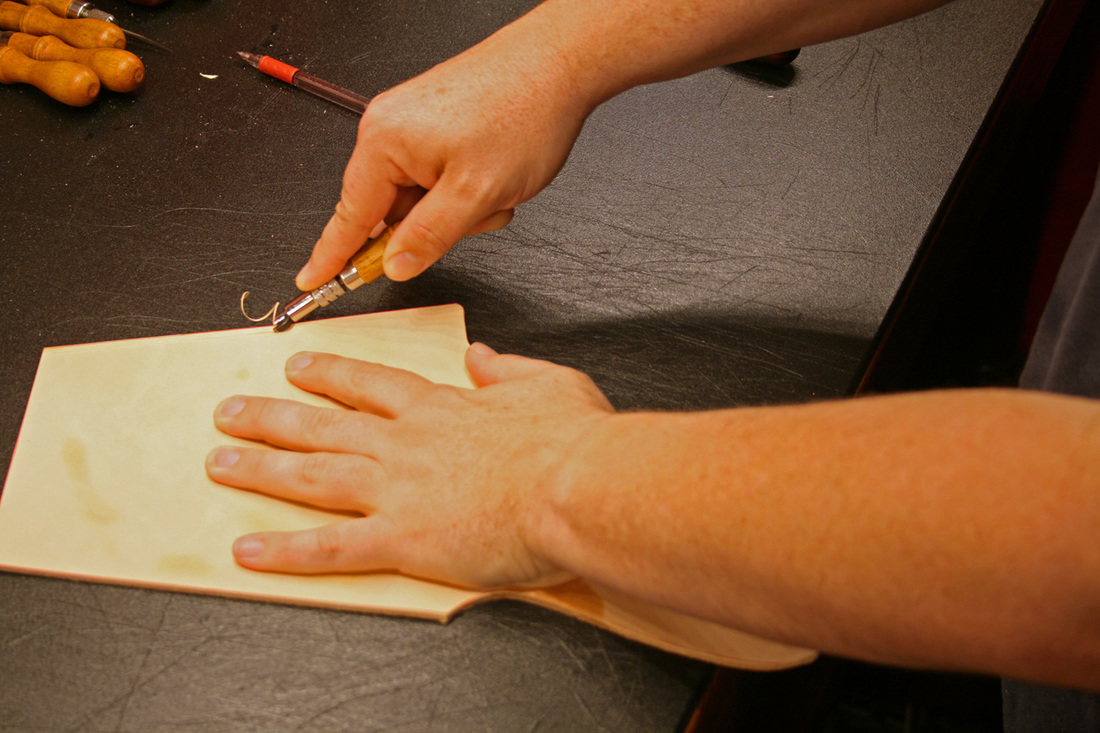
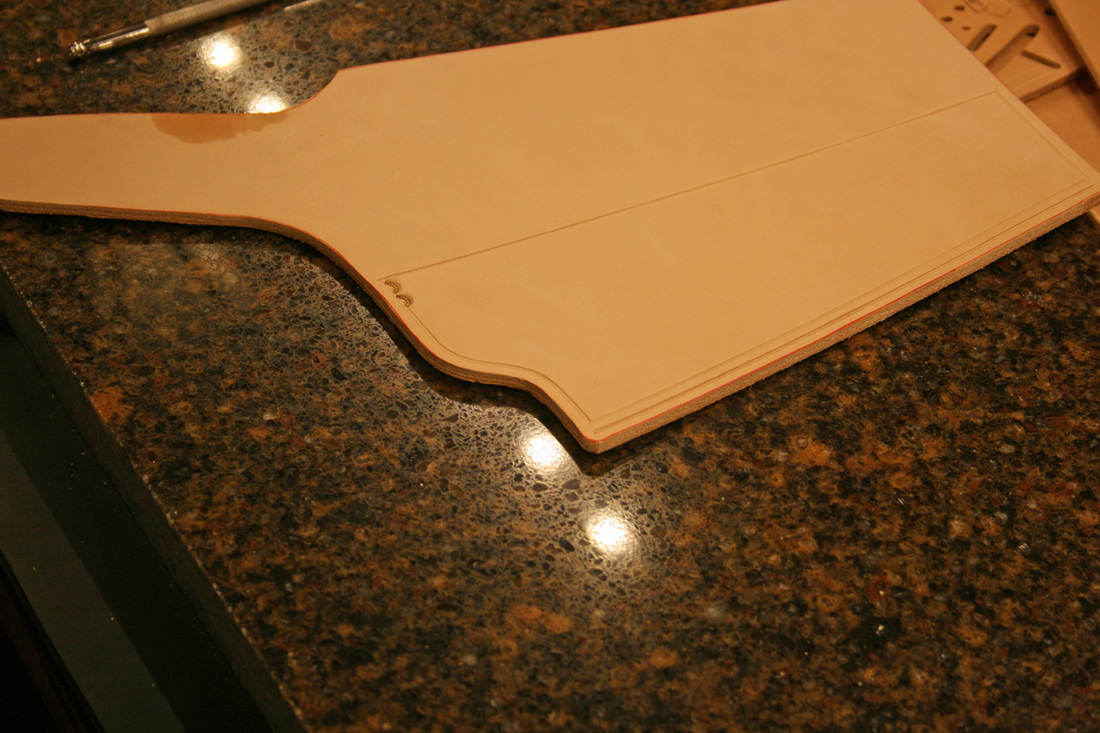
Now I begin my line work. This is accomplished with a stitching groover, a tool that cuts a groove at a pre-determined distance from the edge, for the thread to lay in to protect it from abrasion and it also makes for a cleaner looking finished product. It is also used to frame out the stamping pattern. First is the stitching groove about 3/16” from the edge, then the border for the first line of stamping about another 1/8” to the inside. Tool is an inexpensive Tandy. I keep several set for different widths. The line along the fold is accomplished with a freehand groover using a straight edge.
Before tooling we must first “case” the leather. That is, dampen it on both sides and wait until the hair side starts to change back to its dry color. In this condition, the leather will take an impression and hold it indefinitely.
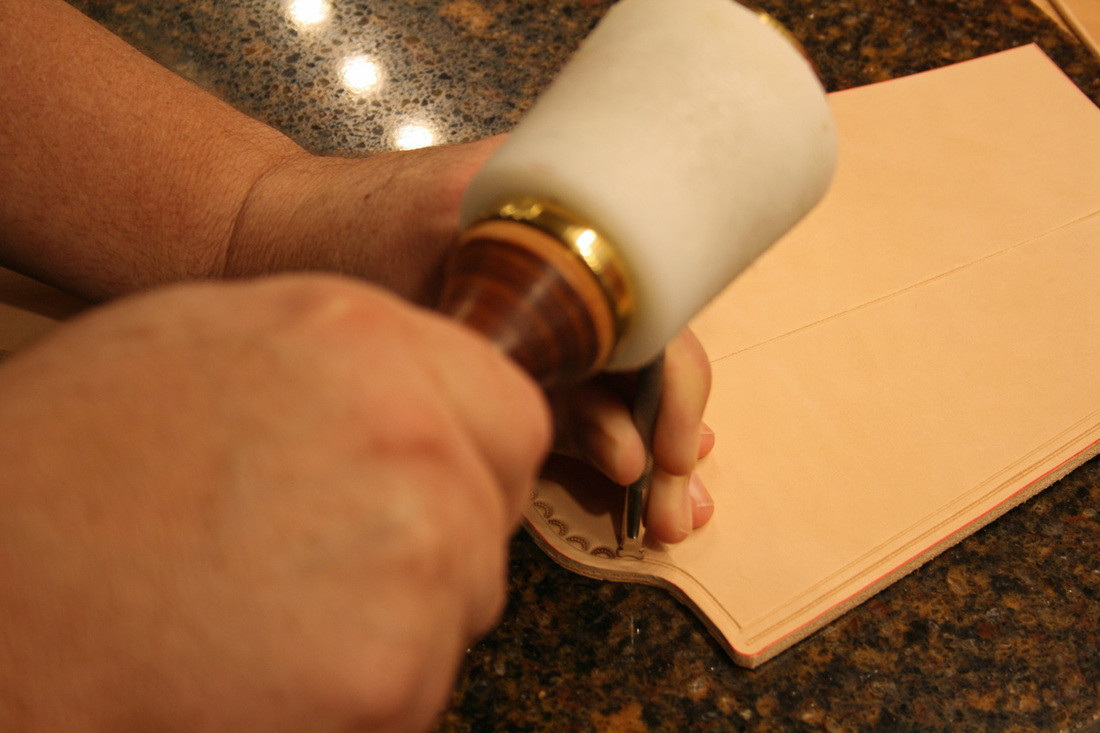
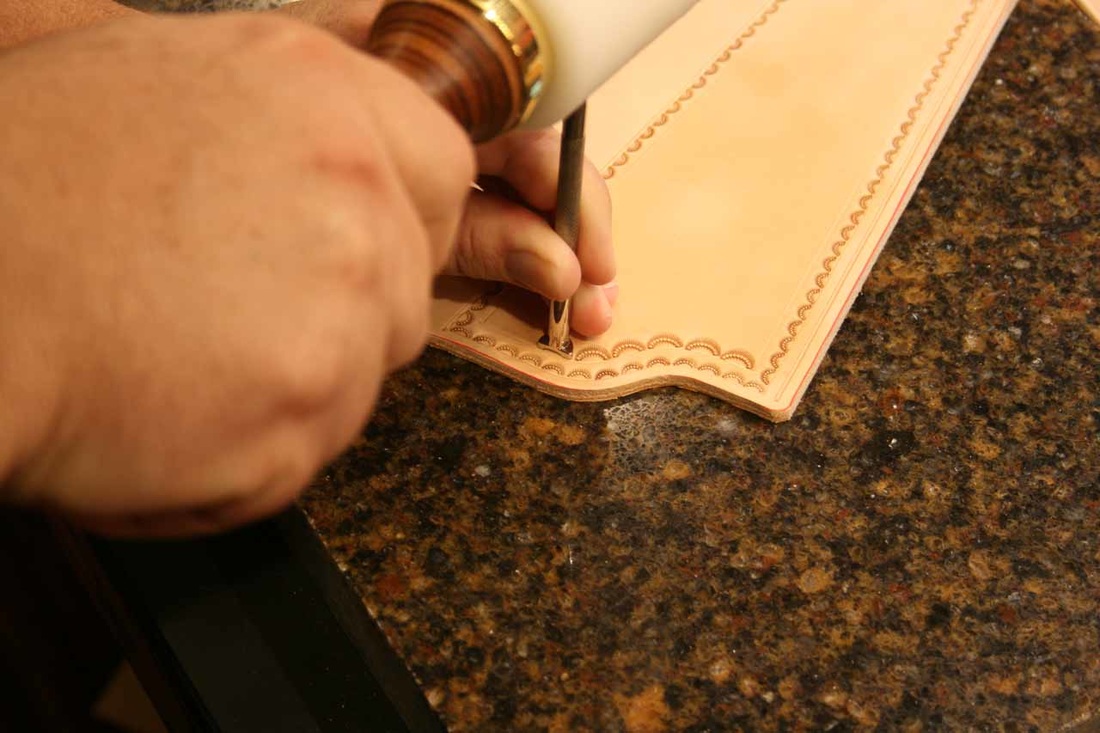
Starting the first border stamp. Stamping along the border cut, using a small border stamp and a 28oz tapered maul. Both tools from Barry King.
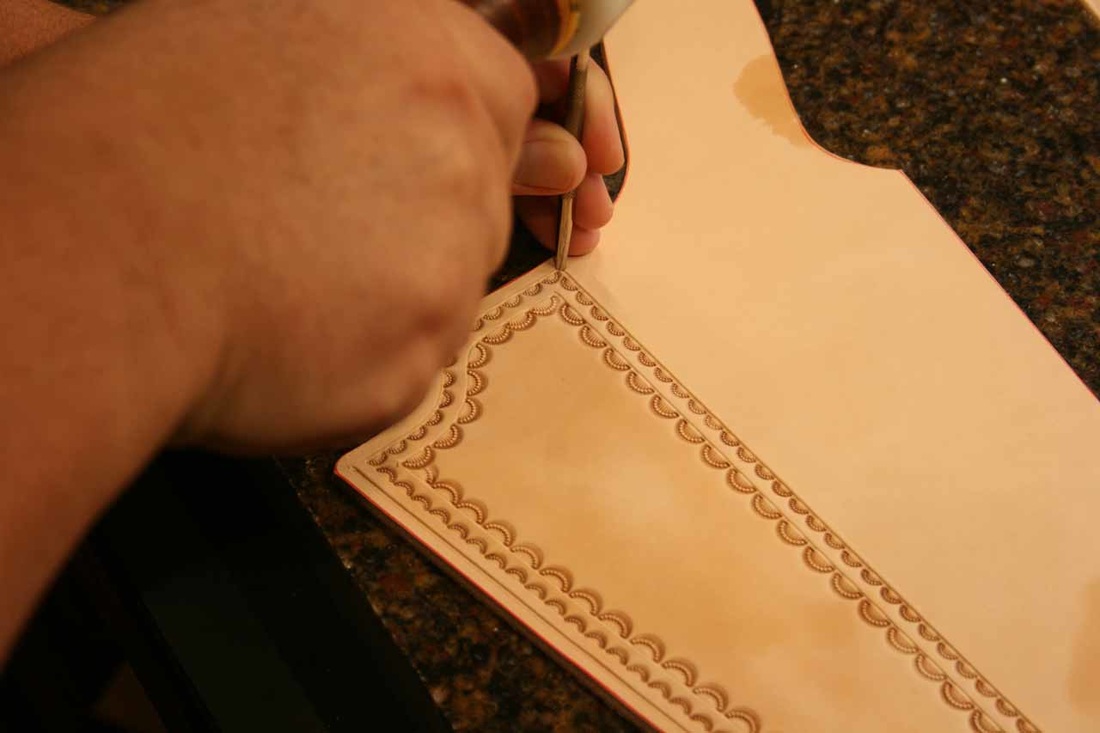
Then we cut a second border just inside the first and begin the second line of stamping with a similar but larger Barry King stamp.
Adding some “seeds” to the corners.
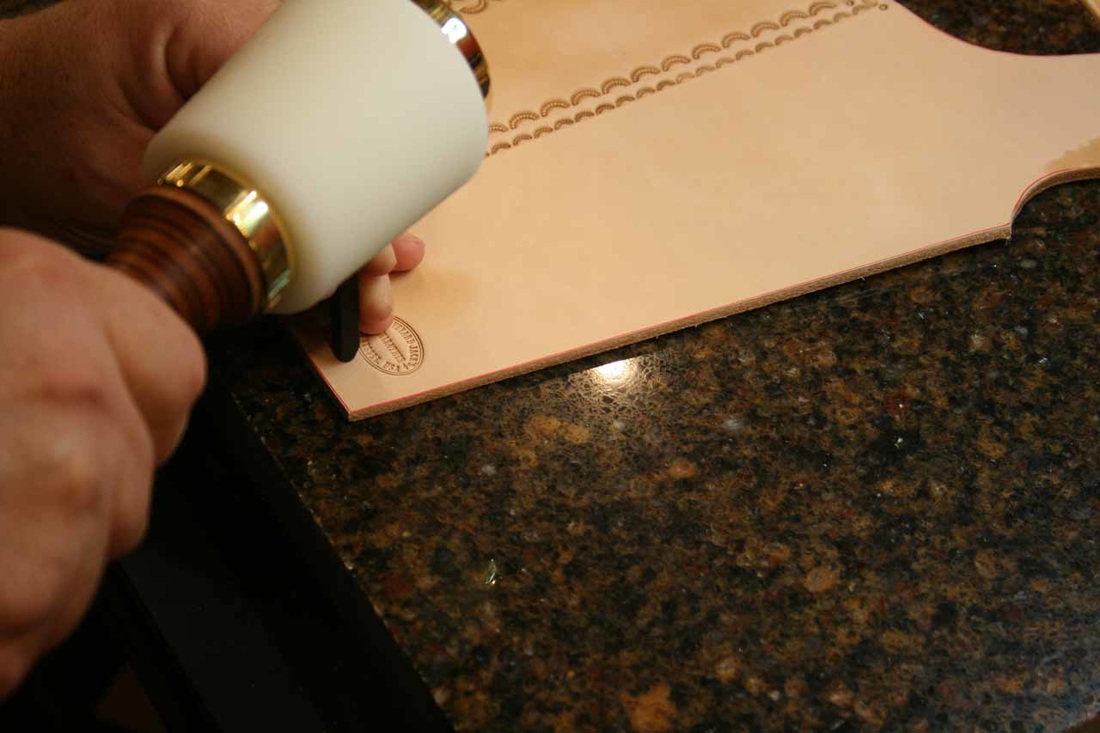
Adding my maker’s mark, using a big 4lb Barry King maul.
Stamping the make/model and year completed.
The stamping is now completed.

Now I bevel the edges with a Barry King bissonnette edge beveler. It’s made for going around tight curves but I use it for everything. Taking special care not to bevel edges that will be glued.

Here we use an overstitch wheel to mark our holes for stitching. In this case, at an interval of seven stitches per inch.