Menu
TUtorial - crafting a threepersons holster
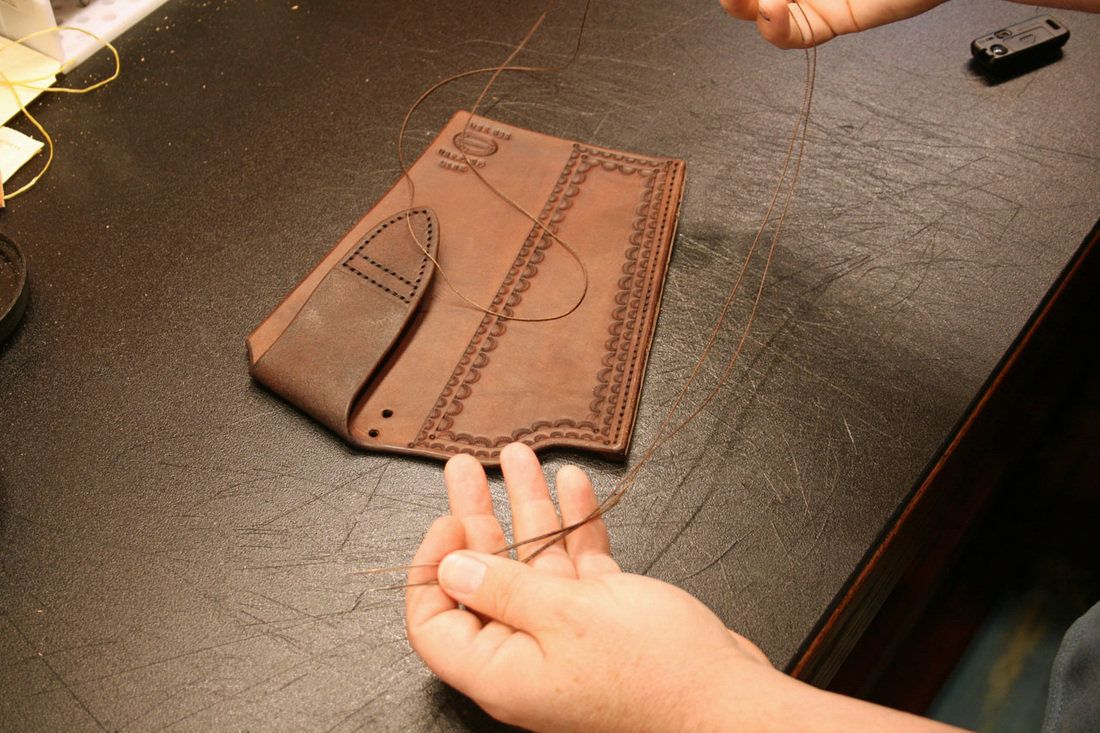
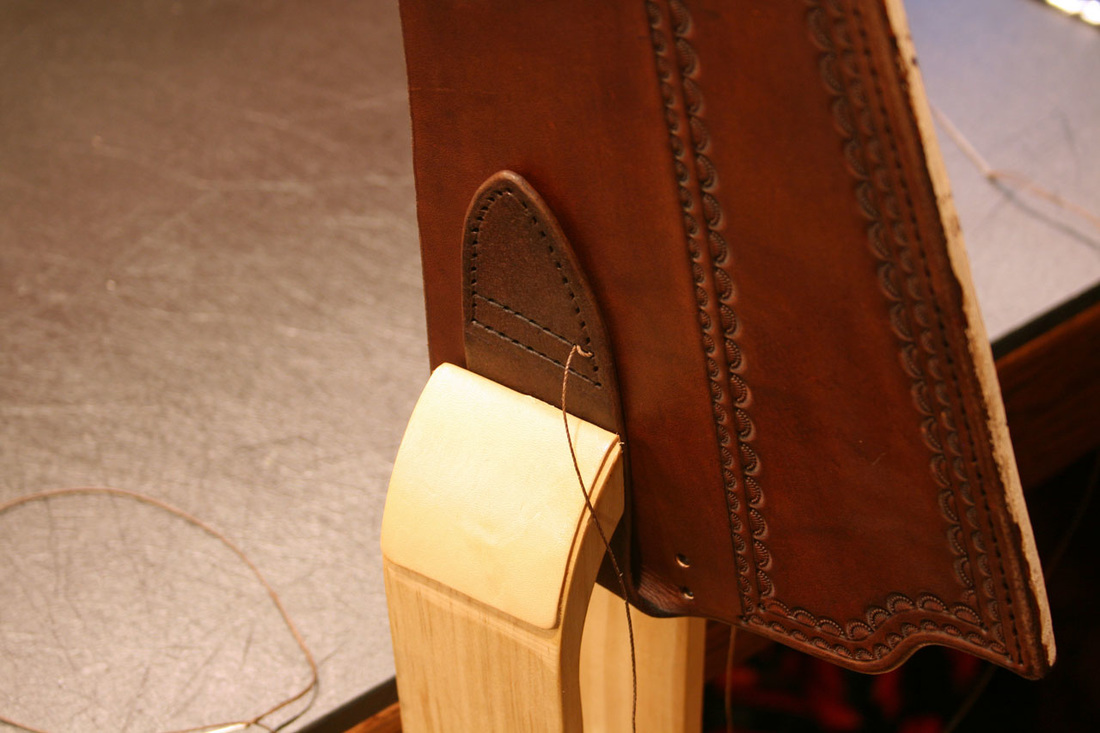
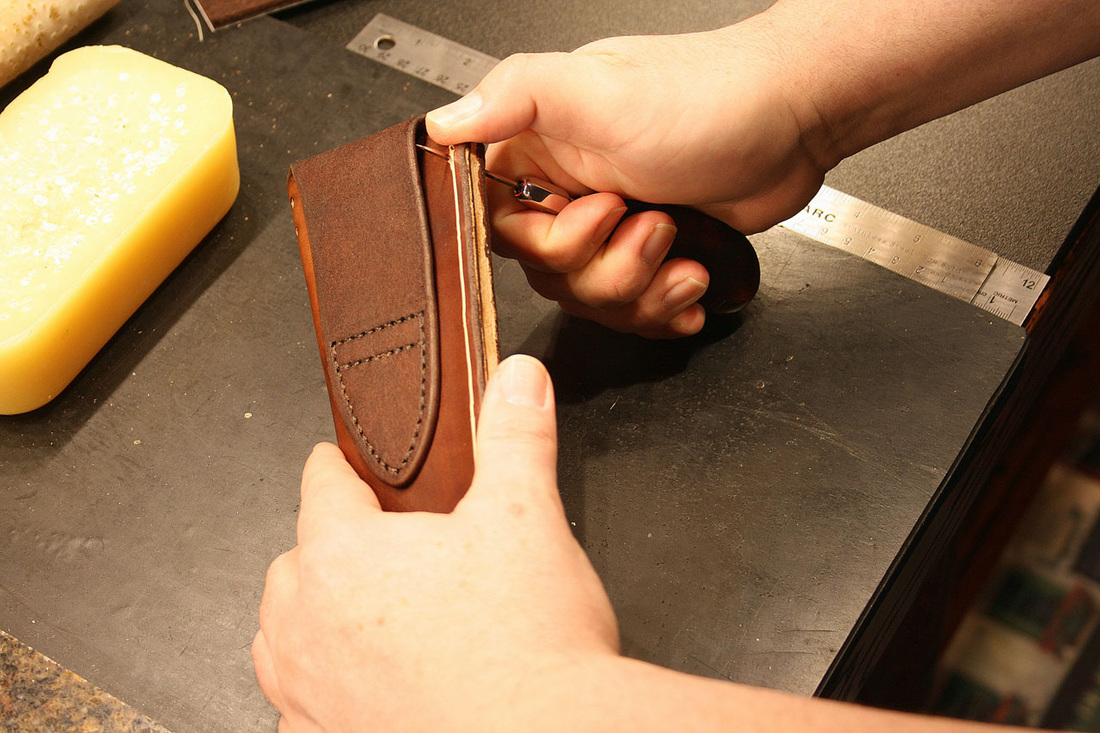
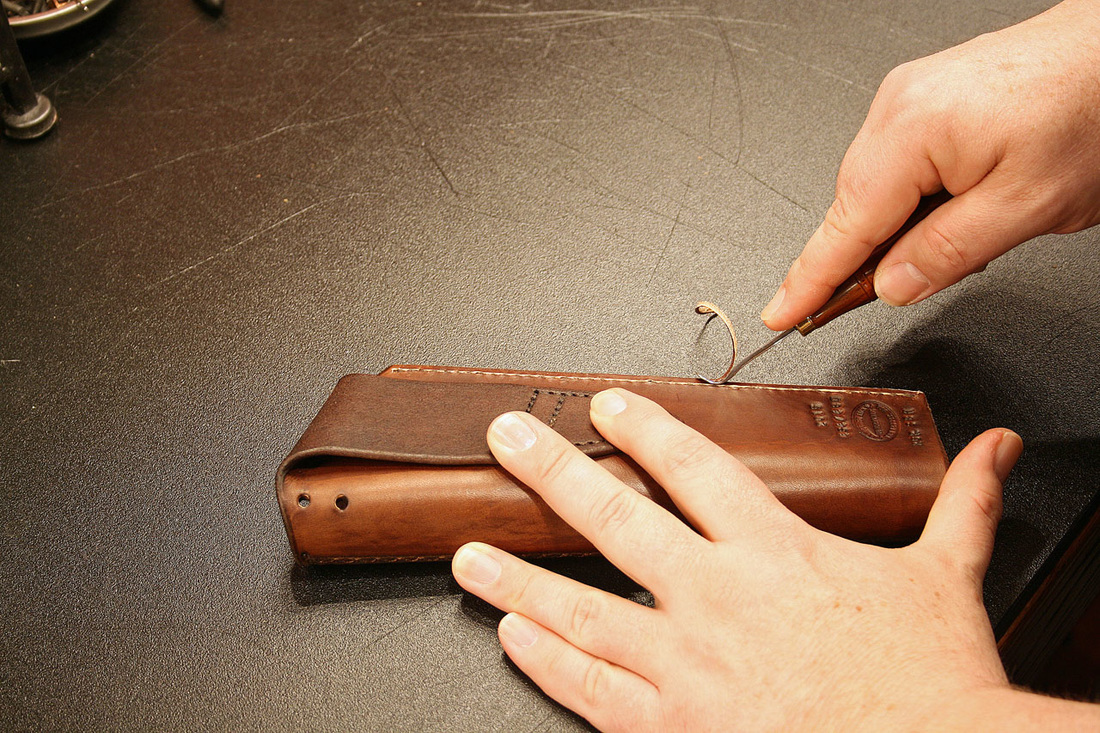
Once the leather is dry, we get ready to stitch down the belt loop. We start by estimating the stitch length and pulling four times that off the spool to accommodate three thicknesses of leather. The thread used is a dark brown, waxed nylon braided cord. It is extremely strong and will last a very long time. It comes with a little too much wax on it so I run it over my thumbnail several times to remove the excess. The dark brown color blends nicely with any color of tan or brown leather, as well as oxblood.
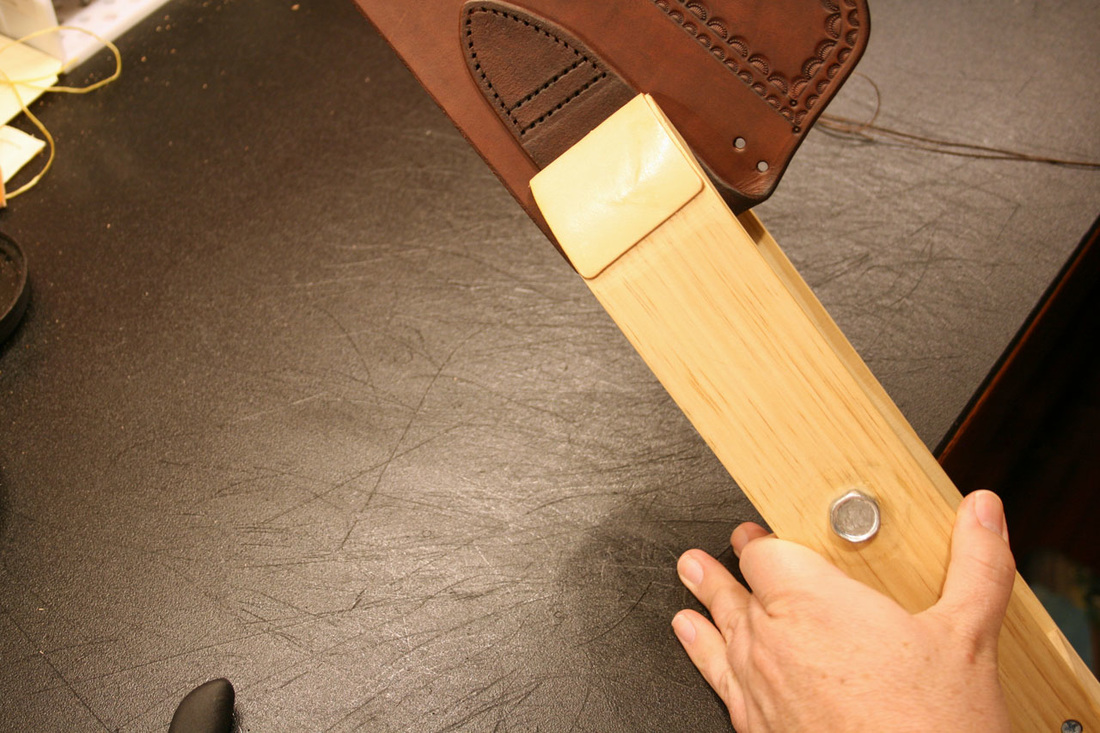
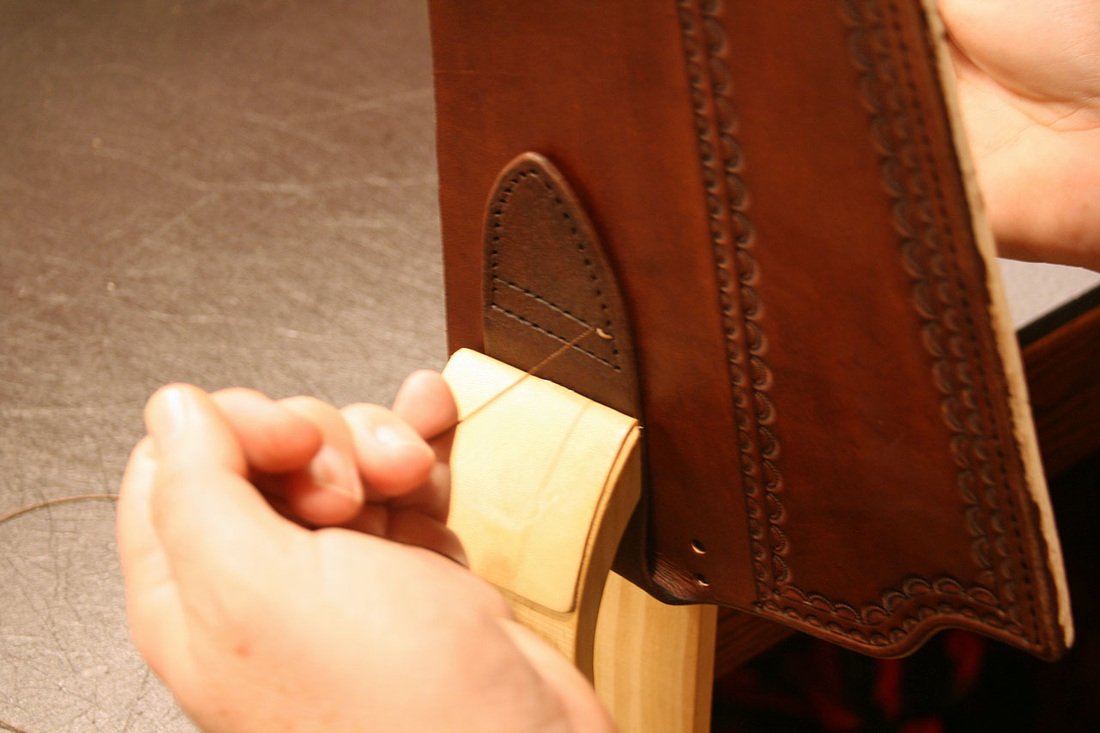
I’ll dampen the belt loop at the fold, line it up and clamp it in the stitching pony. This apparatus holds the work together in a broad, padded clamp and is held in place under the user’s legs.
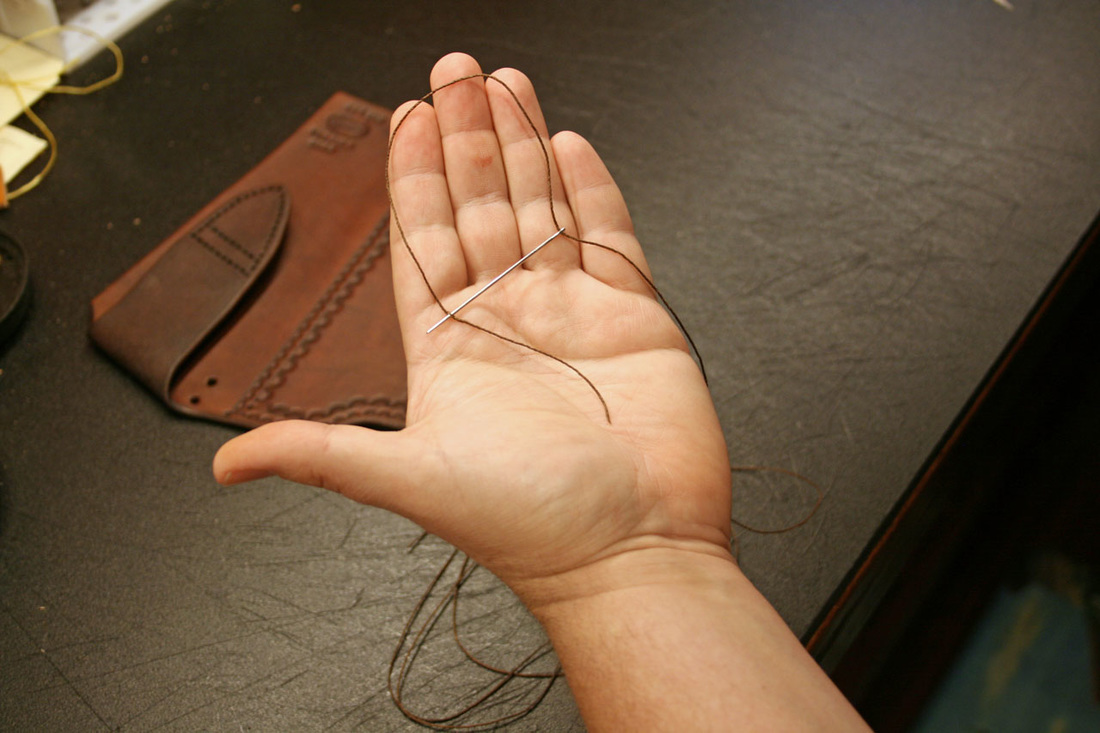
Preparing to stitch, thread each end with a needle, push it through the thread about three inches from the end and pull it through. This keeps the thread from pulling out of the needle eye.
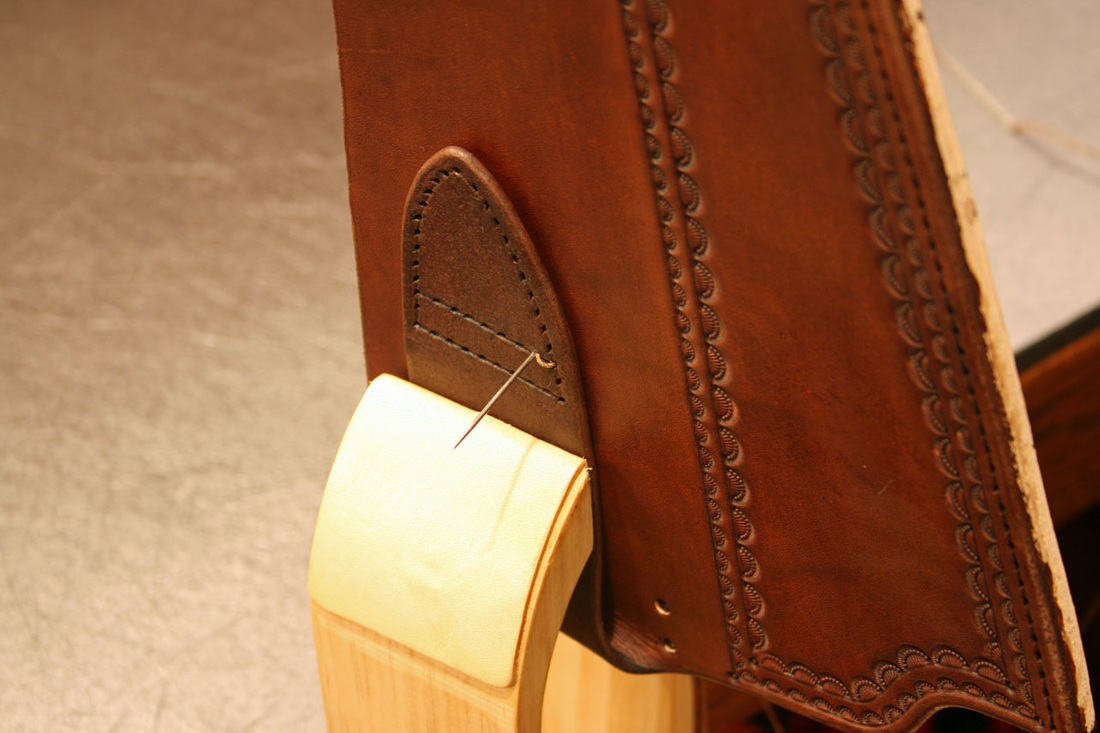
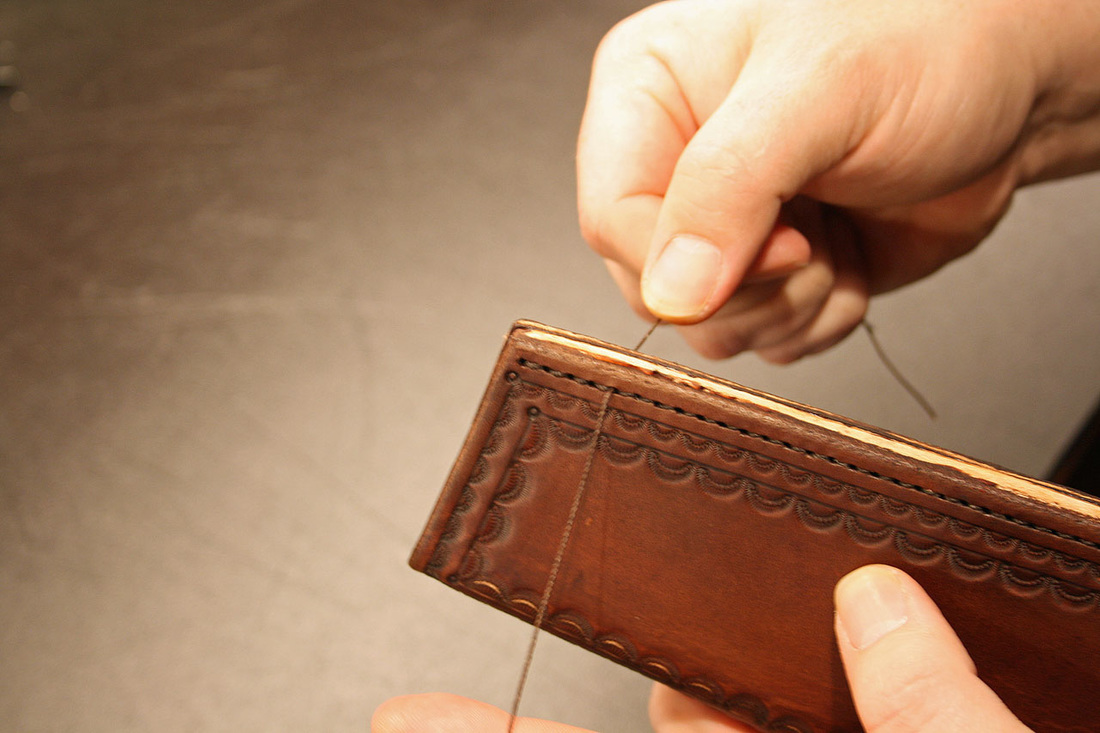
Starting with the two harness needles, Osborne’s in this case, one on each end and set the first stitch in the middle of the thread. These needles are blunt so as to not penetrate the leather or the thread. Begin in such a way that you can stitch the belt loop down in one continuous stitch.
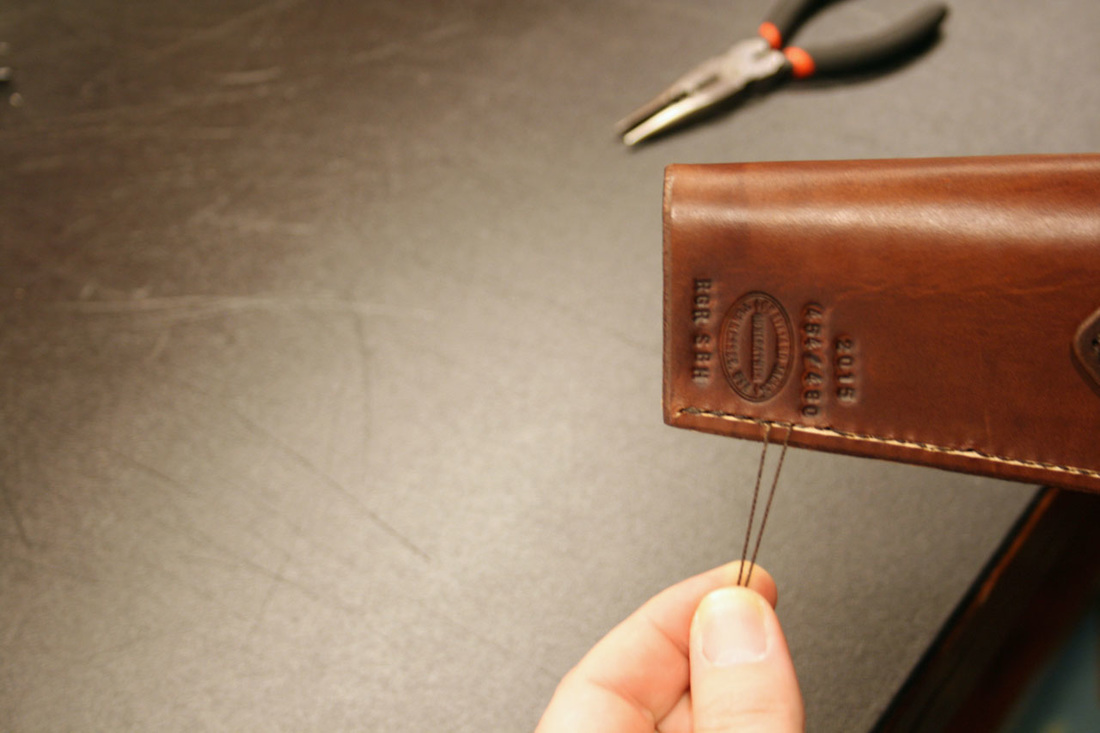
Pull through one end at a time, ending by pulling both ends snug against each other.
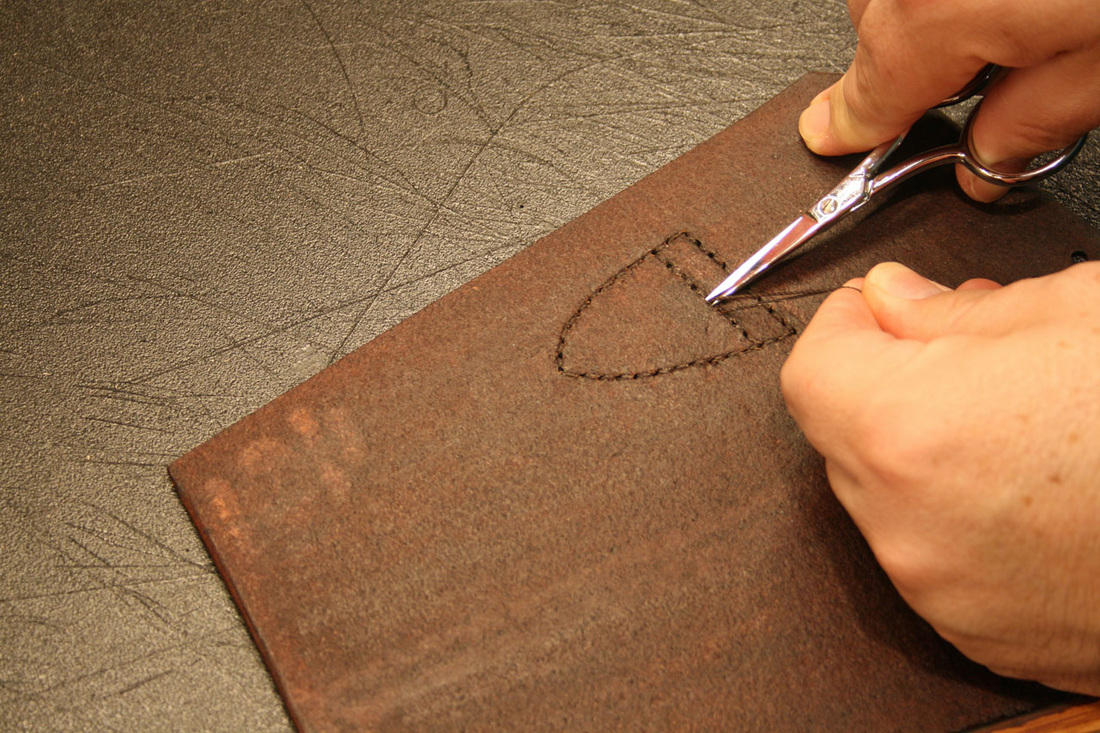
Repeat the process all the way around, ending by back-stitching over the first four stitches, then one more half stitch so that both ends of the thread are on the inside. Cut them off as closely as possible. This keeps the thread tails as invisible as possible and is a mark of quality work. Tension will hold them in place, no need to go tying knots.
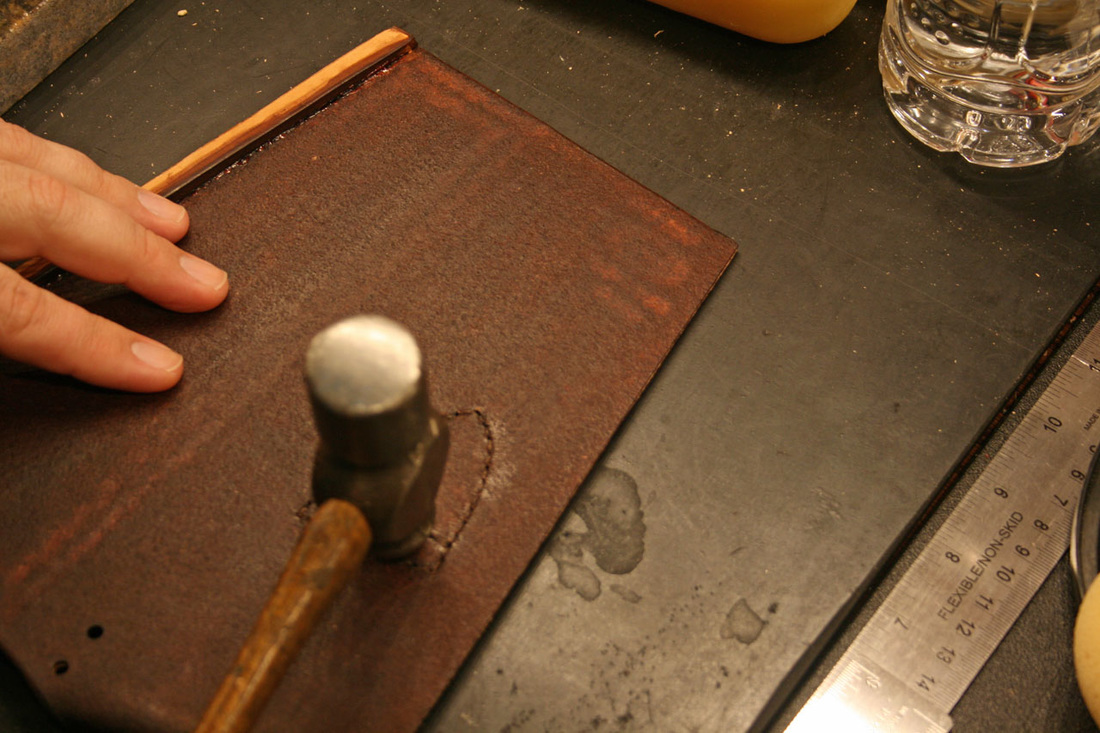
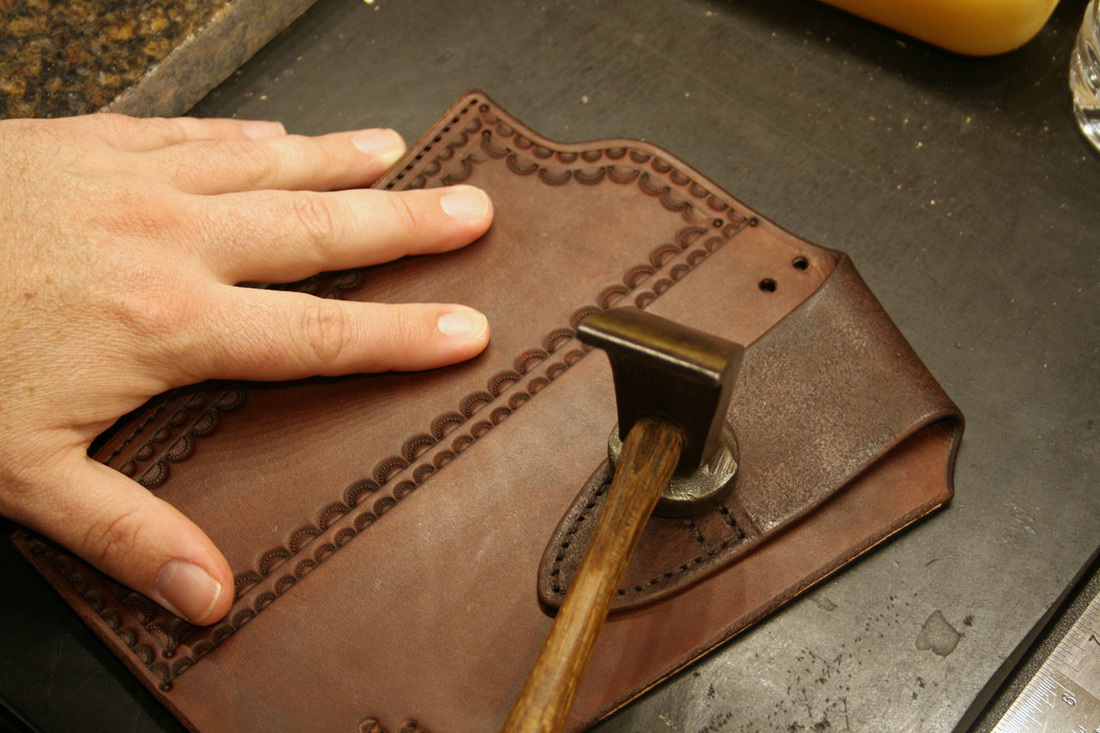
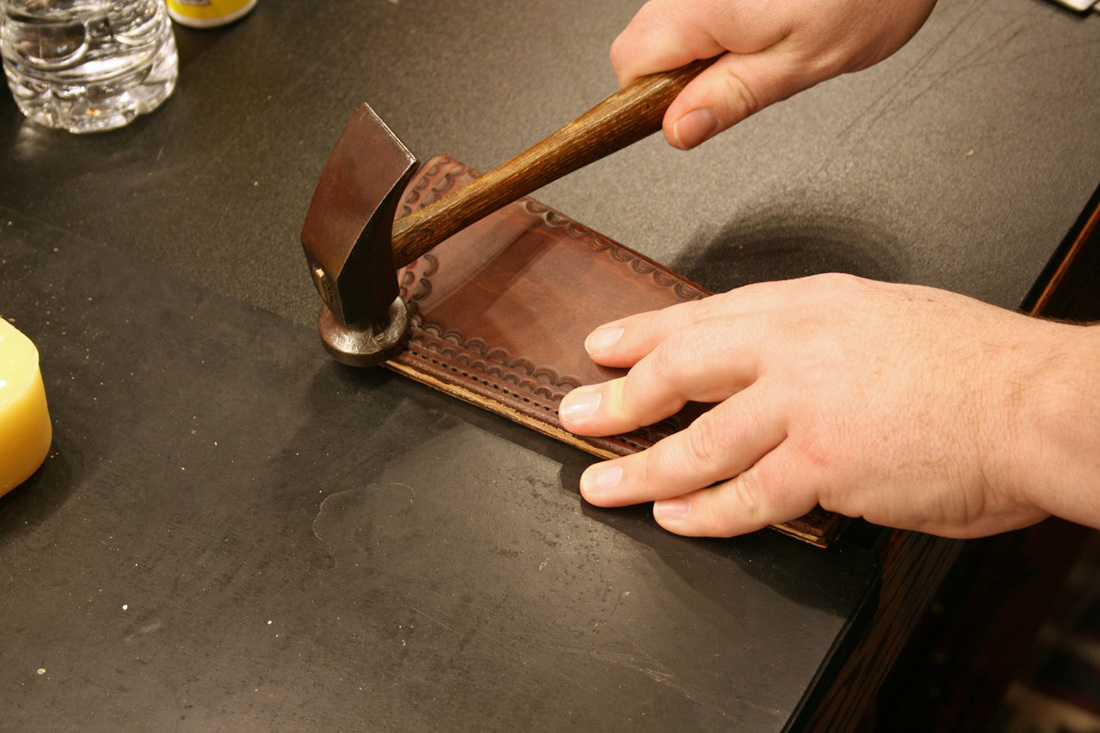
Here we use a ball peen hammer to flatten the stitch line on the inside. This helps settle the thread into the groove.
And a cobbler’s hammer to do the same on the outside.
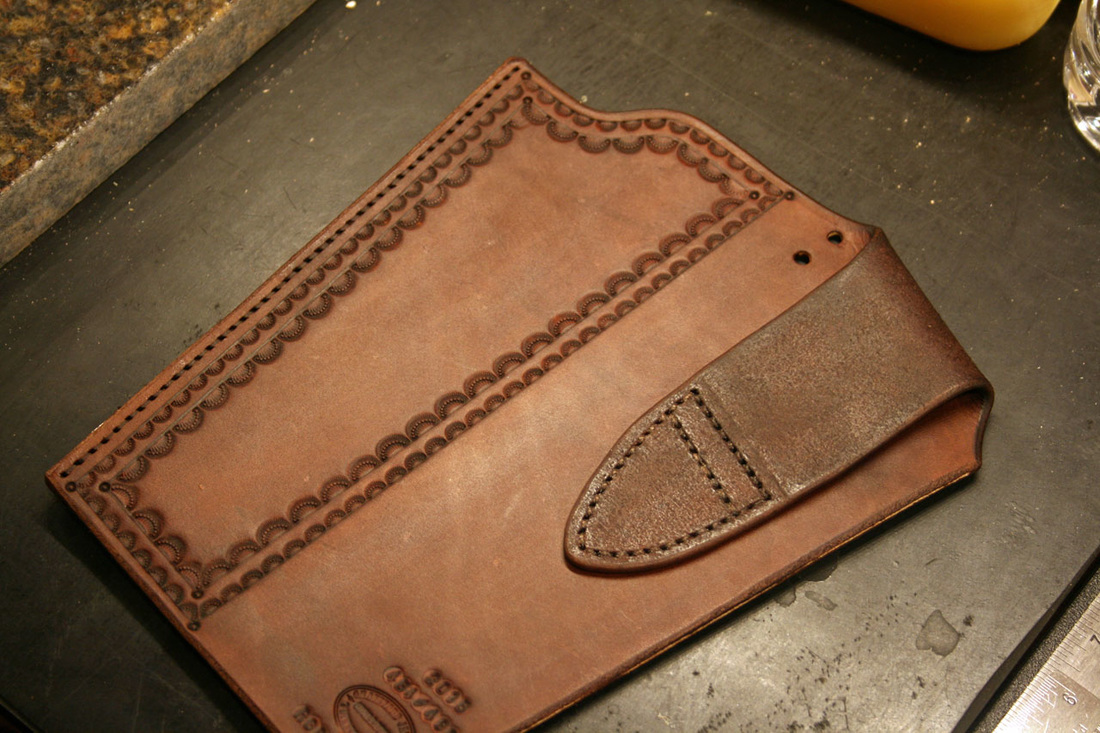
The belt loop is now finished.
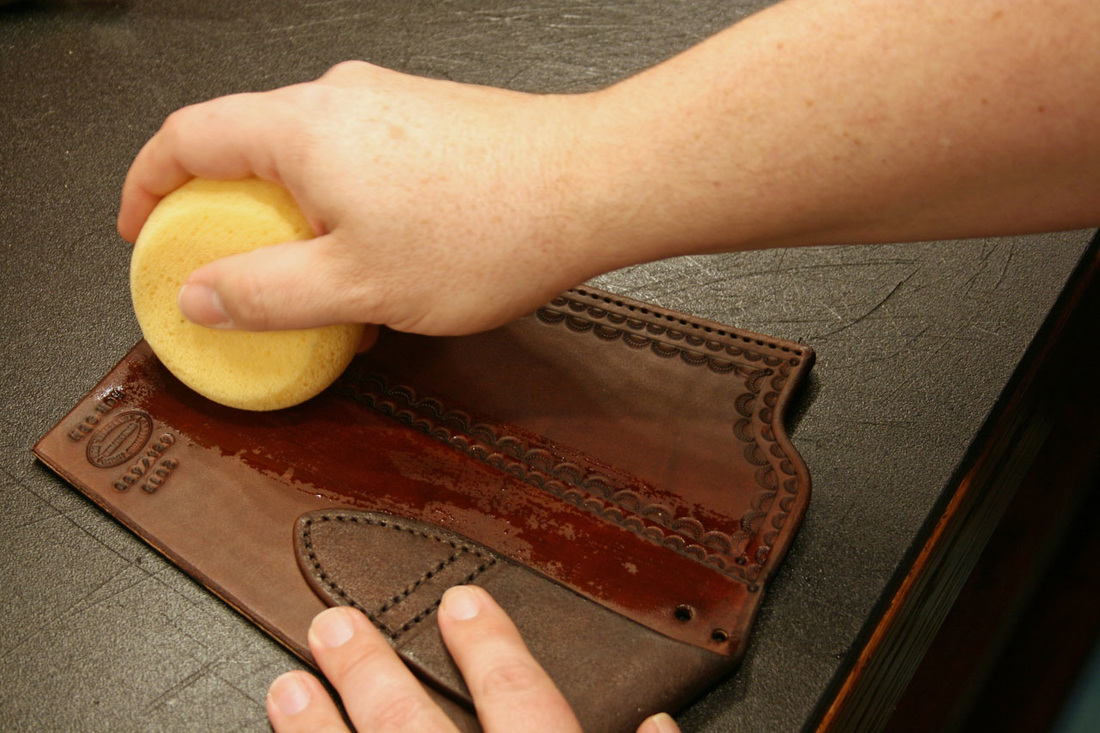
Here we dampen the fold with a sponge and distilled water. Whenever leather is manipulated, it must be or dampened to prevent tears and cracks to the fibers. It also makes it much easier to work.
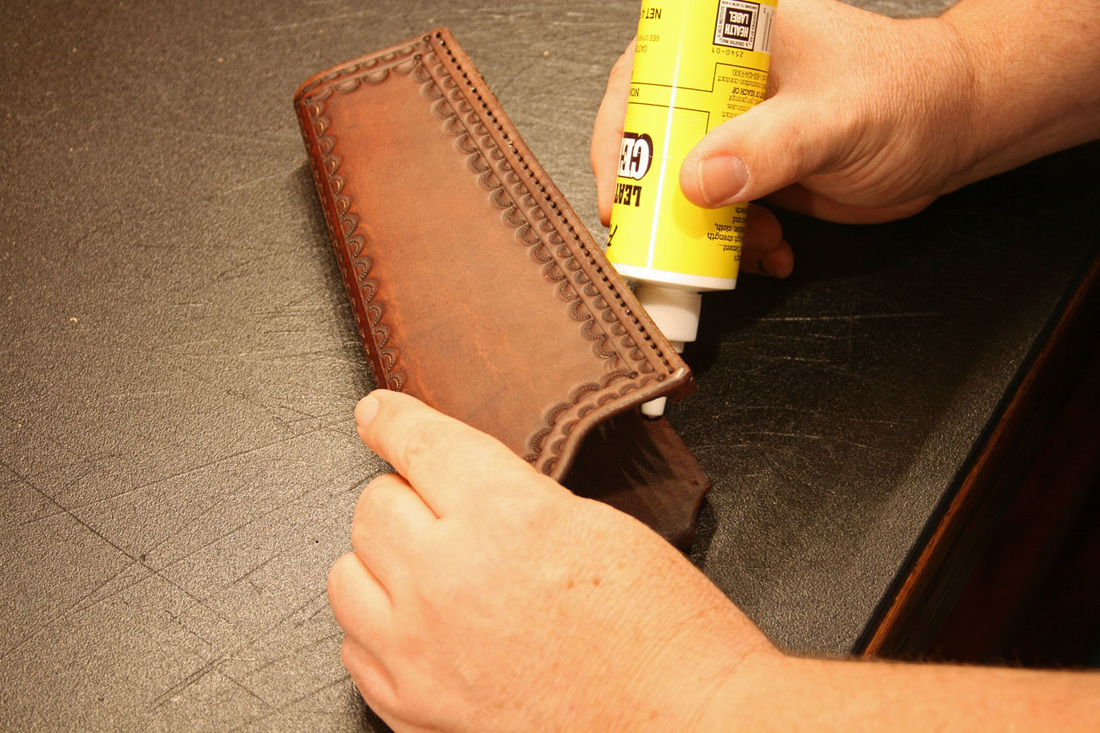
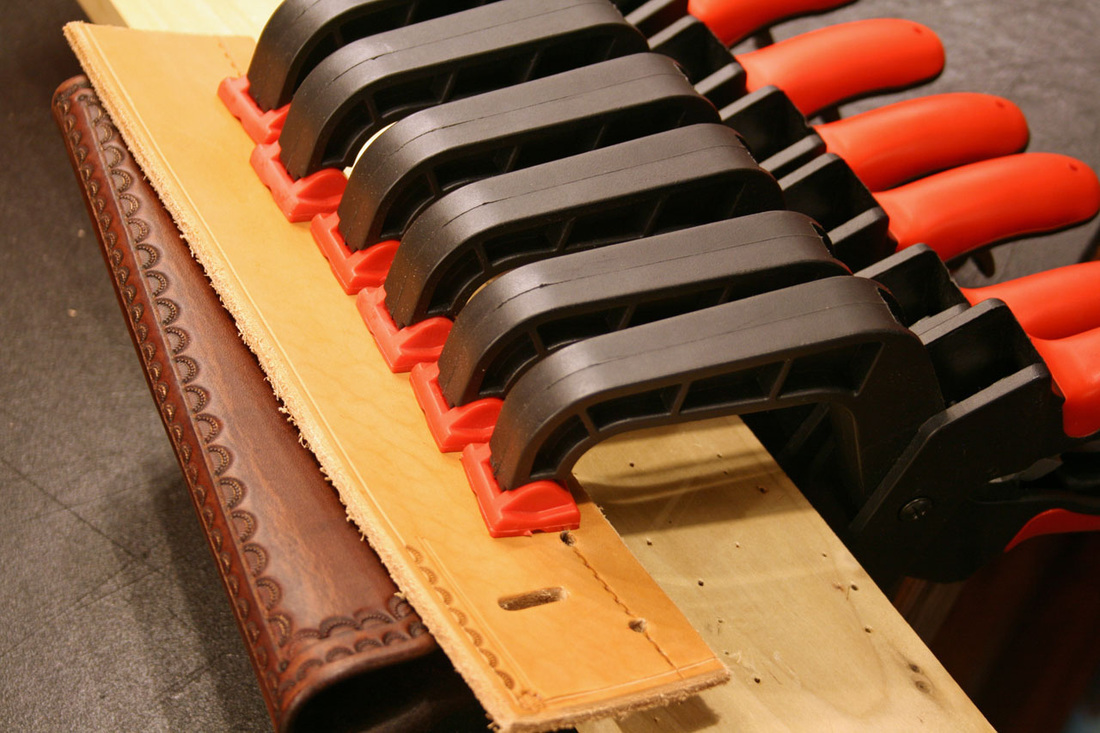
Then the mainseam is glued using the same Fiebing’s cement we used for the welt. Gluing the mainseam serves several purposes. It holds the seam in place for stitching. It provides added strength to the seam. By keeping the leather from moving around, it keeps the stitching from working loose, which helps the seam last longer. It also results in a much better finished edge. Note that we have not yet punched the holes in the back side of the holster.
Glued and clamped. It’s allowed to cure overnight before continuing.
Now that the glue is dry, we can take our diamond shaped awl and punch the holes for stitching. This is done from the pre-punched holes in the front side, to the stitch groove in the back side. If you’re careful while pushing it through, you can manipulate the awl into the middle of the groove before puncturing the surface.
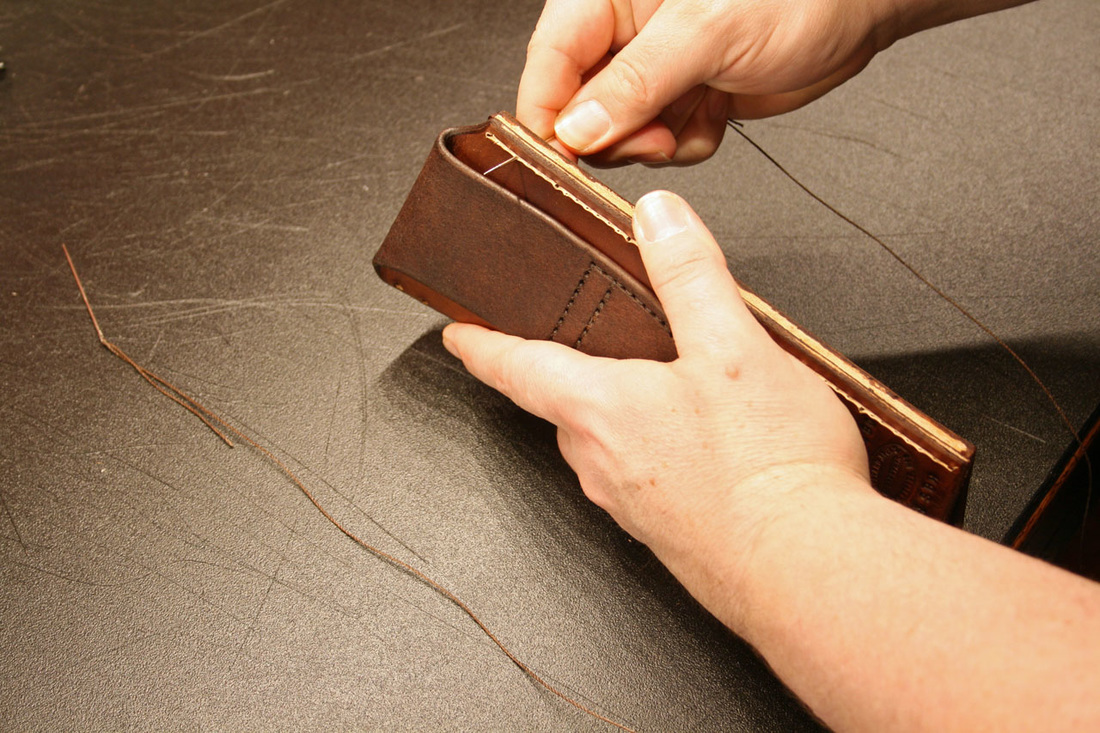
We stitch the mainseam just like the belt loop. Instead of four as before, we need five times the stitch length to cover the three thicknesses of leather. Start at the fourth hole for the backstitch.
Continuing down the mainseam.
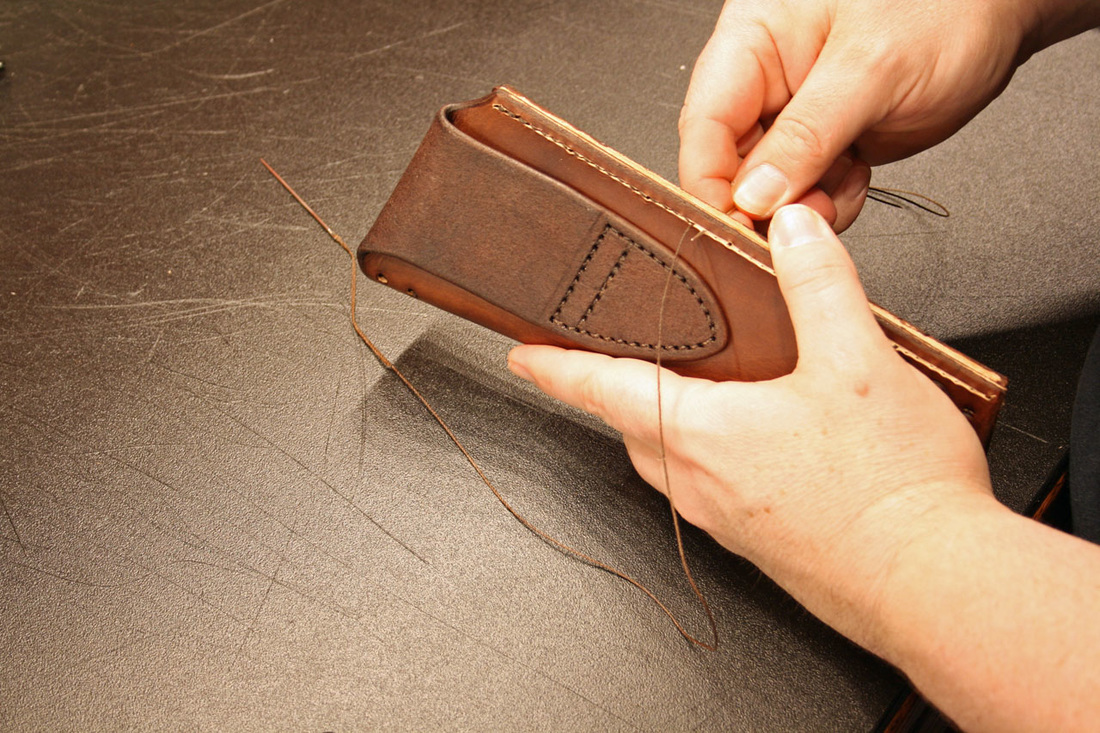
When we get to the toe, we again backstitch four stitches.
Pulling the last front stitch to the back side, cutting them off as close as possible for the cleanest look possible. Nothing is worse than thread tails hanging off the front side.
Taking the cobbler’s hammer to the mainseam to flatten out the stitch line.
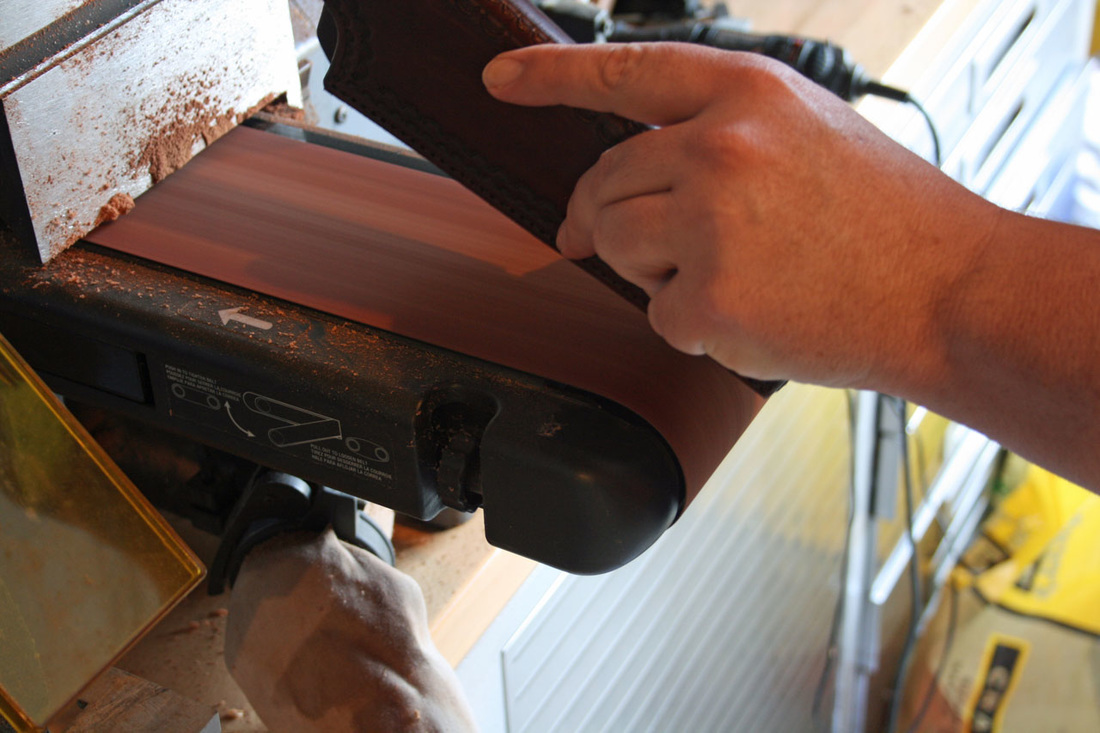
Using the bench sander to smooth out the mainseam edges. This also removes any excess dried glue.
Using the edge beveler to bevel the mainseam edges. Properly sanded, beveled and burnished edges are paramount to quality work.
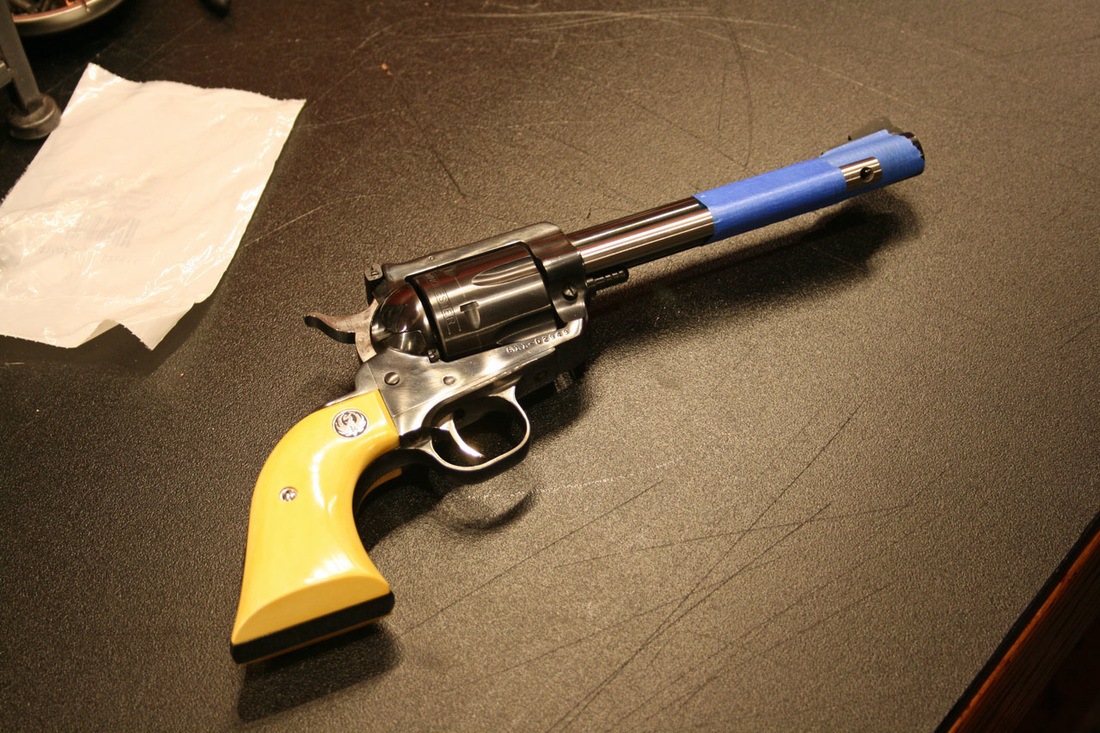
The holster is now ready for wet forming. This holster is made for the new 6½” .454 and .480 Super Blackhawks and since we don’t have one of those, we’re using a Buckeye .38-40, mocked up with a Maximum/Hunter length ejector housing to simulate. This will ensure proper fitment around the ejector.
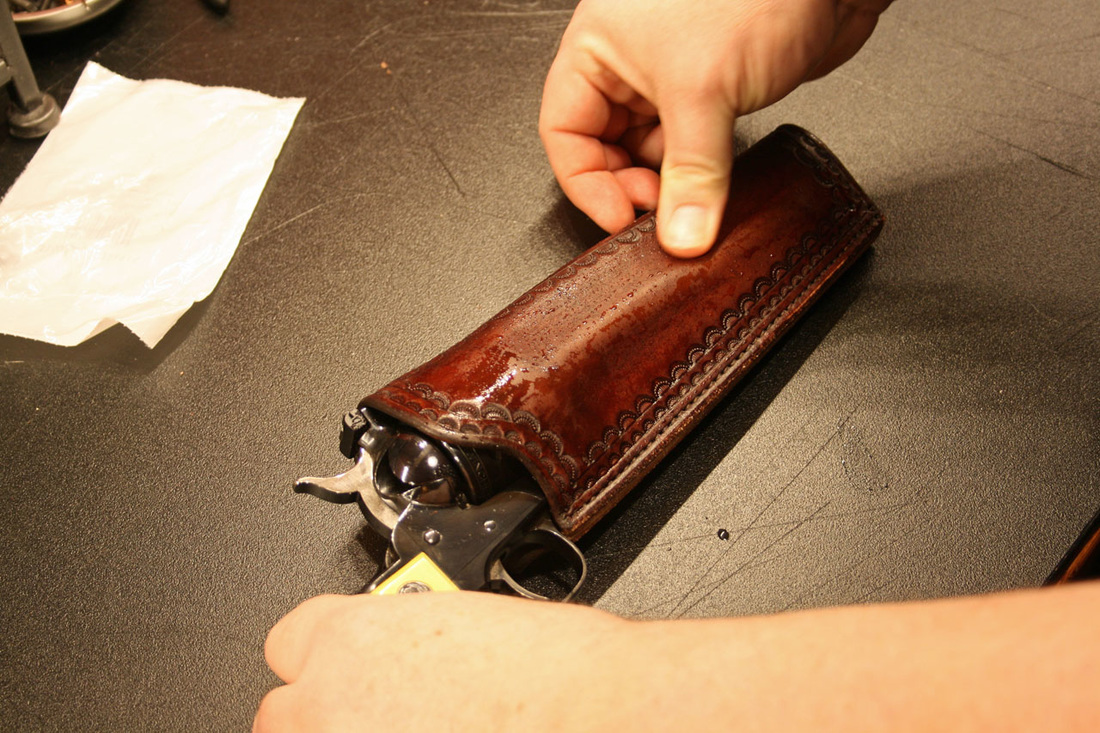
The holster is then thoroughly dampened, inside and out. The sixgun is heavily oiled and inserted into the wet holster. I then hand mold around the ejector housing and cylinder. Taking care not to deform the stamping. Any tooling present will be very vulnerable when the leather is wet.
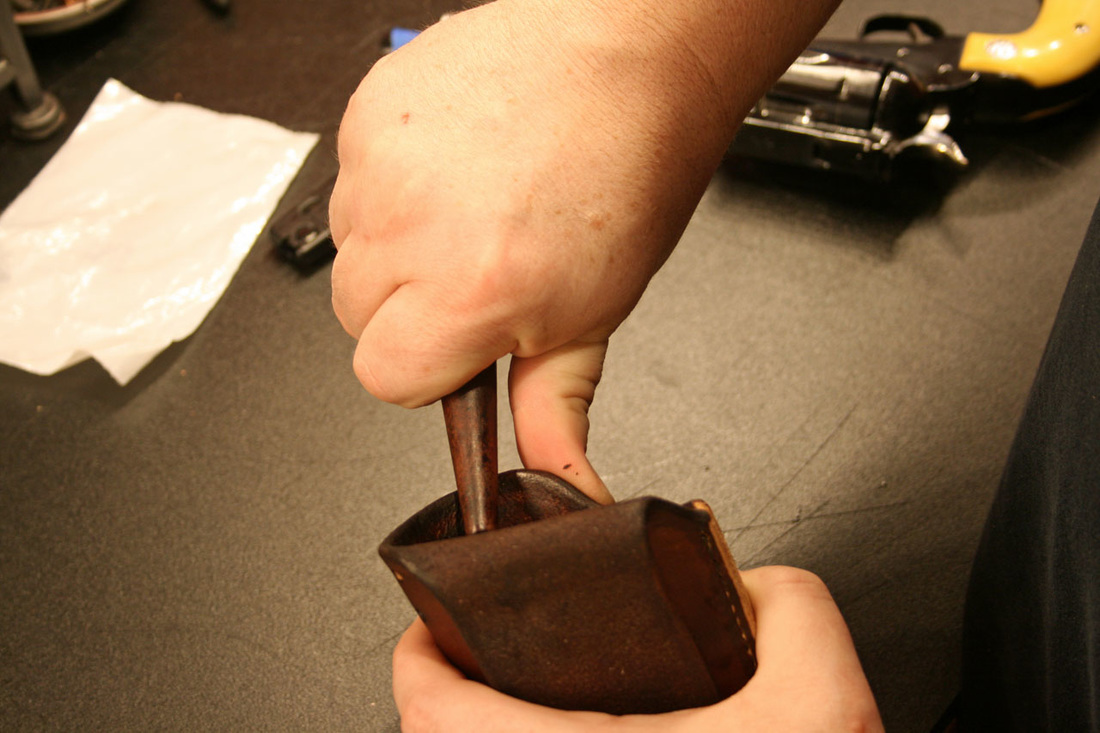
I also use the burnishing tool to put a slight flare at the throat of the holster for easier holstering.
Proudly powered by Weebly
